
>>

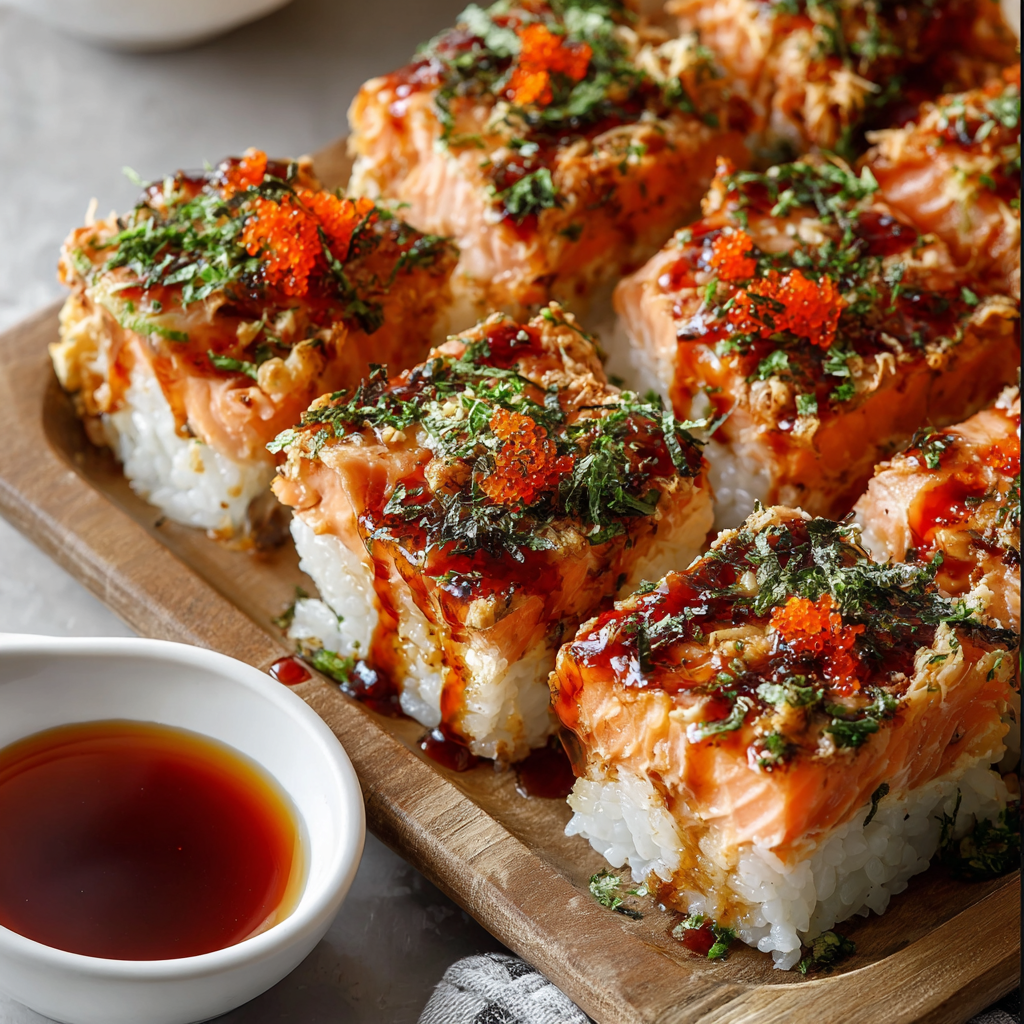
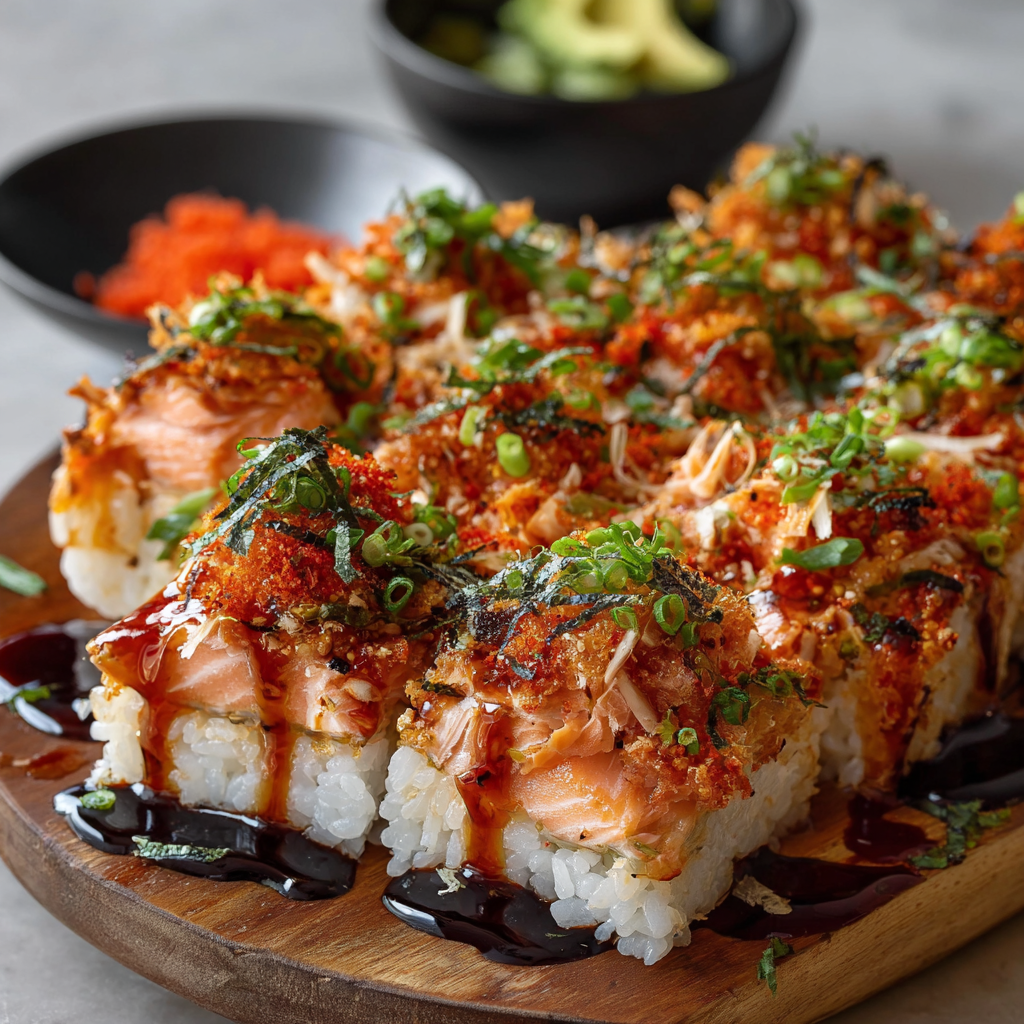
A crave-worthy, easy-to-share spicy salmon sushi bake layered with seasoned sushi rice, creamy sriracha salmon, and crisp nori — perfect for weeknights and gatherings.

This spicy salmon sushi bake became a staple the first winter I needed a dish that felt celebratory without the fuss of rolling sushi. I discovered the idea while trying to recreate the toasted, slightly charred top of a sushi bar favorite at home. The layers of warm, seasoned rice and creamy, spicy salmon stuck together like a comforting casserole, and after the first spoonful I knew I had a new crowd-pleaser. It’s texturally satisfying — soft rice, rich salmon, and the crisp pop of nori and tobiko when you add them. The heat from Sriracha melds with the cool bite of green onion and the silky mayo to create a balanced, memorable flavor.
I usually make this when friends drop by unexpectedly or when we need to stretch a special ingredient into several servings. It’s forgiving: you can dial the spice up or down, swap in different seafood, and still end up with something impressive. The ease of assembly means you spend more time chatting at the table and less time at the stove, and the aroma of warm vinegar-scented rice always pulls everyone into the kitchen. If you love sushi flavors but want a no-roll, spoon-and-share experience, this version will become one of your go-to options.
I remember serving this at a casual dinner party; guests kept returning for second helpings and traded spoon notes on how they liked it best — with extra tobiko or a squeeze of lemon. My partner declared it an instant favorite, and it’s become my answer when someone asks for something that tastes special but is shockingly simple to prepare.
My favorite part is how customizable it is: some friends like an extra drizzle of soy or a squeeze of lime; others prefer more tobiko for pops of saline crunch. At a family potluck, doubling the recipe and placing several small serving spoons made it disappear quickly. The real trick to success is not overmixing the rice when adding the vinegar — treat the grains gently for a pleasantly textured base.
Store leftovers in an airtight container in the refrigerator for up to 3 days. To maintain texture, separate garnishes (nori strips and tobiko) and add them fresh when serving. Reheat single portions in a microwave at 50% power in 30-second intervals, or warm in a 300°F (150°C) oven for 10–12 minutes covered with foil to prevent drying. If you plan to freeze, assemble the layers in a freezer-safe dish and freeze unbaked for up to 1 month; thaw overnight in the fridge and bake as directed. Quality indicators: rice that has dried out or a fishy off-odor means discard.
For a lighter version, replace half the mayonnaise with plain Greek yogurt — you’ll lose a touch of umami but gain brightness and fewer calories. Substitute salmon with cooked shrimp or imitation crab (kani) for a different texture and milder taste; if using cooked seafood, reduce bake time to avoid drying. Swap Sriracha for your preferred chili paste or go milder with 1 tablespoon chili paste plus 1 teaspoon honey. For a dairy-free and egg-free option, use vegan mayo. If avoiding sesame, omit the sesame oil and add a splash of toasted walnut oil or omit entirely.
Serve warm with crisp toasted nori strips for scooping or small bowls of extra soy sauce or ponzu on the side. Pair with a simple cucumber salad or quick pickled ginger to cut richness and add acidity. For a full meal, present with steamed edamame and miso soup; for parties, garnish with extra tobiko and microgreens for an elevated look. Offer lime wedges and extra Sriracha so guests can customize heat, and consider small plates so everyone can try different combinations.
This casserole-like dish is inspired by Japanese-American sushi flavors and the popular spicy salmon sushi found in many ramen and sushi restaurants. It’s a fusion approach that borrows essential components — seasoned rice, mayo-spiced seafood, nori — and adapts them into a bake that’s easier for home cooks. Historically, sushi evolved from preserved fish and rice practices; modern, Western-influenced versions celebrate creative toppings and textures, and this dish reflects that playful, approachable spirit while highlighting key umami elements.
In summer, serve the bake with a bright salad of heirloom tomatoes and shiso for freshness; use citrus-marinated salmon for extra zing. In colder months, add roasted mushrooms or a sheet of baked kabocha squash beneath the rice for an earthy note. During holiday gatherings, make mini portions in a muffin tin for individual servings and top with a touch of sweet soy glaze before serving. Swap green onions for chives in winter when they’re milder and store-bought microgreens make a festive garnish.
Make components ahead: cook and season the rice in the morning and store covered in the fridge; mix the salmon topping just before baking to keep the fish texture fresh. Assemble in a shallow dish and refrigerate for up to 6 hours before baking. For packed lunches, portion into shallow containers with a little extra rice so reheating keeps the balance between rice and topping. Label containers with reheating instructions and include a small packet of nori to keep it crisp until serving.
This spicy salmon sushi bake is one of those dishes that feels both indulgent and practical — restaurant flavors with home-kitchen simplicity. Share it with friends, adapt it to your pantry, and make it your own: every family version tells a story, and this one will surely collect its own set of favorites.
Rinse sushi rice until water runs clear to remove excess starch and prevent gummy texture.
Warm the vinegar-sugar mixture before folding into rice so it dissolves fully without cooling the rice too quickly.
If you want a charred top, briefly torch the baked surface for 30–60 seconds after baking.
Reserve some green onions for garnish to keep the baked top bright and fresh.
This nourishing spicy salmon sushi bake recipe is sure to be a staple in your kitchen. Enjoy every moist, high protein slice — it is perfect for breakfast or as a wholesome snack any time.
Yes — use sashimi-grade salmon or very fresh fillet. Baking reduces parasite risk, but starting with high-quality fish improves taste and safety.
Store in an airtight container in the fridge for up to 3 days. Reheat gently to avoid drying the salmon; add garnishes fresh.
This Spicy Salmon Sushi Bake recipe makes perfectly juicy, tender, and flavorful steak every time! Serve with potatoes and a side salad for an unforgettable dinner in under 30 minutes.
Preheat oven to 375°F (190°C). Rinse the sushi rice under cold water until it runs clear to remove surface starch, ensuring better texture.
Combine rinsed rice and 2.5 cups water in a rice cooker or pot. Bring to a boil, then simmer covered for about 15 minutes. Remove from heat and rest 10 minutes.
Warm rice vinegar, sugar, and salt until dissolved. Gently fold the seasoned vinegar into the hot rice using slicing motions to keep grains intact and glossy.
Mix diced salmon with mayonnaise, Sriracha, sesame oil, and chopped green onions until evenly coated; adjust Sriracha to preferred heat.
Spread seasoned rice in a lightly oiled 9x9-inch dish, top with the salmon mixture, and bake at 375°F (190°C) for 25–30 minutes until set and lightly golden.
Let cool 5 minutes, then garnish with nori strips, tobiko, and extra green onions. Serve warm, scooping portions into bowls or onto plates.
Last Step: Please leave a rating and comment letting us know how you liked this recipe! This helps our business to thrive and continue providing free, high-quality recipes for you.
Leave a comment & rating below or tag
@easywhiskrecipes on social media!

A quick and comforting one pot dinner of tender chicken, creamy rice, and vegetables cooked together in the Instant Pot for an easy weeknight meal.

Fluffy pancakes swirled with a warm cinnamon filling and finished with a silky cream cheese glaze. Perfect for weekend brunches and cozy mornings.

Buttery graham crust, creamy cheesecake, spiced Granny Smith apples, crunchy streusel, and a ribbon of homemade caramel — perfect dessert bars for gatherings.
Leave a comment & rating below or tag @easywhiskrecipes on social media!
Enjoyed this recipe? Share it with friends and family, and don't forget to leave a review!
This recipe looks amazing! Can't wait to try it.
Comments are stored locally in your browser. Server comments are displayed alongside your local comments.

Join to receive our email series which contains a round-up of some of our quick and easy family favorite recipes.
