
Soft Christmas Peppermints

Tender, melt-in-your-mouth peppermint discs colored festive red and green — a simple no-bake candy that's perfect for gifting and holiday gatherings.

This soft peppermint confection has been a holiday staple in my kitchen for years. I first stumbled upon this no-bake method during a hectic December when I wanted a quick, homemade treat to tuck into neighborly gift tins. The texture is the star here: not the hard, brittle candy you get from boiled sugar, but a pillow-soft, slightly chewy disc that dissolves gently on the tongue. The peppermint flavor is bright and clean, the kind that makes your mouth tingle pleasantly without overpowering. I love how the red and green accents make each piece feel like a tiny edible ornament.
What makes this version special is how forgiving it is — the dough is simple to handle, and the sweetened condensed milk gives the candies a creamy bite and reliable binding. The granulated sugar coating adds a delicate crunch and a shimmer that catches the light in a gift tin. Whenever I make a batch, family members drift into the kitchen for a taste test and invariably ask when the next batch will be ready. These are perfect for holiday cookie swaps, last-minute hostess gifts, or a cheerful addition to a dessert board.
Why You'll Love This Recipe
- Fast and approachable: makes a full batch in under an hour of hands-on time, using pantry staples like powdered sugar and sweetened condensed milk.
- Make-ahead friendly: dries at room temperature and keeps well for gifting for up to two weeks when stored correctly.
- All skill levels: no candy thermometer or boiling required — simple mixing and shaping steps make it ideal for beginners and kids.
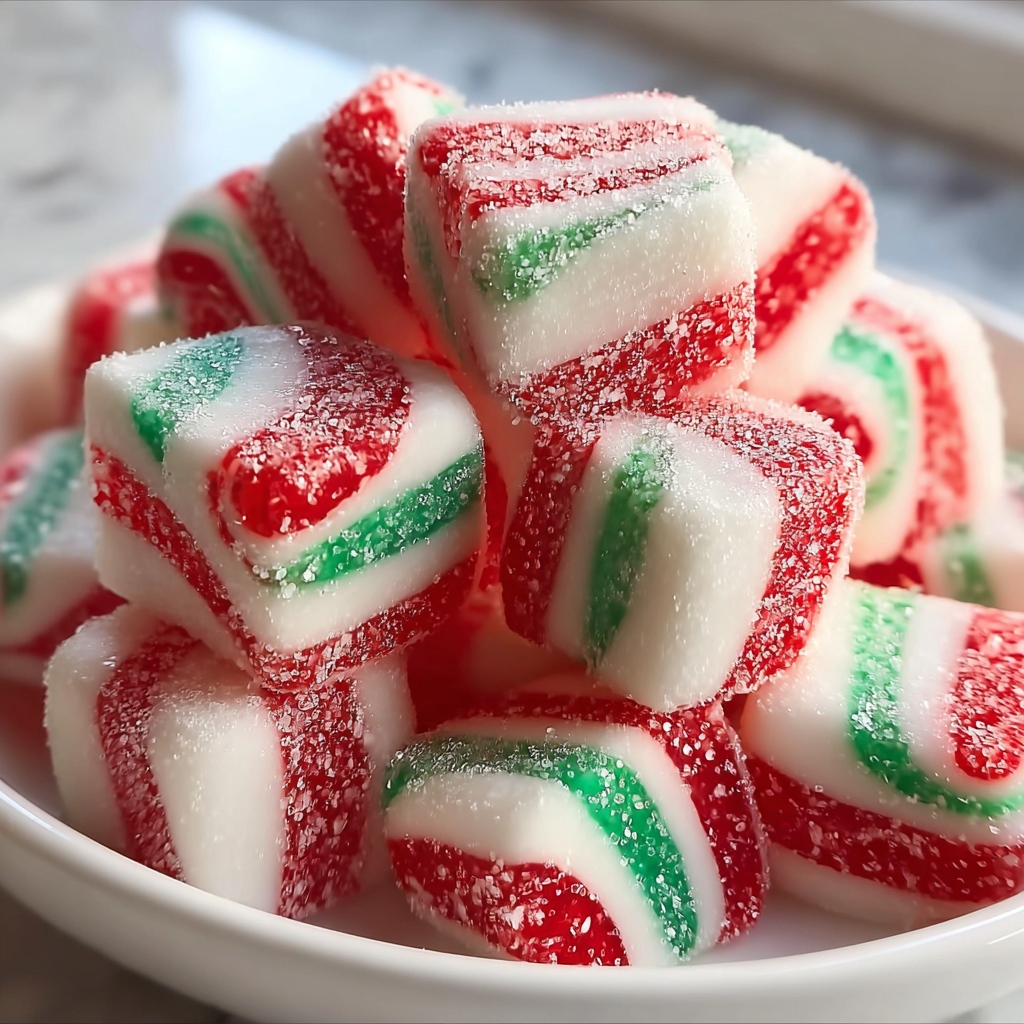
- Festive presentation: three-color ropes twisted together create a classic candy cane effect without complex piping or molds.
- Customizable flavor and color: swap peppermint extract for almond or orange, or make all-white mints for a minimalist look.
- Low equipment needs: mixing bowl, spatula, and a sheet pan are all you need.
I remember taking a tray of these to a neighborhood holiday open house — they disappeared faster than the cookies. Neighbors complimented the softness and the balanced mint flavor, and several asked for the recipe. That kind of response convinced me this simple method belongs in every holiday repertoire.
Ingredients
- Powdered sugar (3 3/4 cups plus extra for dusting): Use a fine, supermarket brand like Domino or C&H for a smooth dough. Sifting removes lumps and prevents gritty texture; reserve a few tablespoons to dust your work surface so the dough won’t stick.
- Sweetened condensed milk (1/3 cup): The canned variety (e.g., Eagle Brand) provides the creamy sweetness and binding power. Don’t substitute evaporated milk — you need the sugar and thickness condensed milk brings.
- Peppermint extract (1/2 teaspoon): High-quality extract (such as Watkins or Nielsen-Massey) yields a brighter, cleaner mint note; avoid using peppermint oil straight as it’s much stronger and can be overpowering.
- Gel food coloring (red and green): Gel is preferred (AmeriColor or Wilton) because a small amount gives vivid color without adding liquid that would change texture.
- Granulated sugar (for coating): Regular granulated sugar gives a pleasing sparkle and slight crunch to the surface; optional: use superfine sugar for a more delicate coating.
Instructions
Sift and measure: Start by sifting the powdered sugar into a large bowl to remove clumps. Reserve about 1/4 cup of the sifted sugar for dusting your work surface. Accurate measuring matters here — use level cups and spoon the sugar into the measuring cup rather than scooping directly, which can compact the sugar. Mix to form dough: Add the sweetened condensed milk and peppermint extract to the bowl. Stir with a spatula until the mixture forms a shaggy, sticky mass. If the dough seems too wet, incorporate extra powdered sugar one tablespoon at a time until it becomes pliable but not dry. The goal is a tacky, slightly sticky dough that holds shape. Divide and color: Portion the dough into three roughly equal pieces. Leave one piece plain. Tint the other two pieces with a few drops of gel color — a tiny dab goes a long way; knead until color is uniform. If the color is too pale, add more gel a toothpick at a time to avoid overshooting. Roll into ropes: Dust your work surface lightly with reserved powdered sugar. Roll each colored piece into a rope approximately 1/2 inch thick and as long as comfortable. Keep the ropes even in thickness for consistent pieces. Twist and shape: Lay the three ropes side by side and gently twist them together to create a candy-cane stripe effect. Don’t overwork or the colors may mar. Cut the twisted rope into 2-inch segments, then press each segment lightly into a round or disc shape with your palm or the flat of your hand. Coat and dry: Roll each disc in granulated sugar to coat all sides. Arrange the pieces on a parchment-lined sheet pan, leaving a bit of space between. Let them dry at room temperature for several hours or overnight until they firm up to the touch. Avoid refrigerating — the humidity can soften them.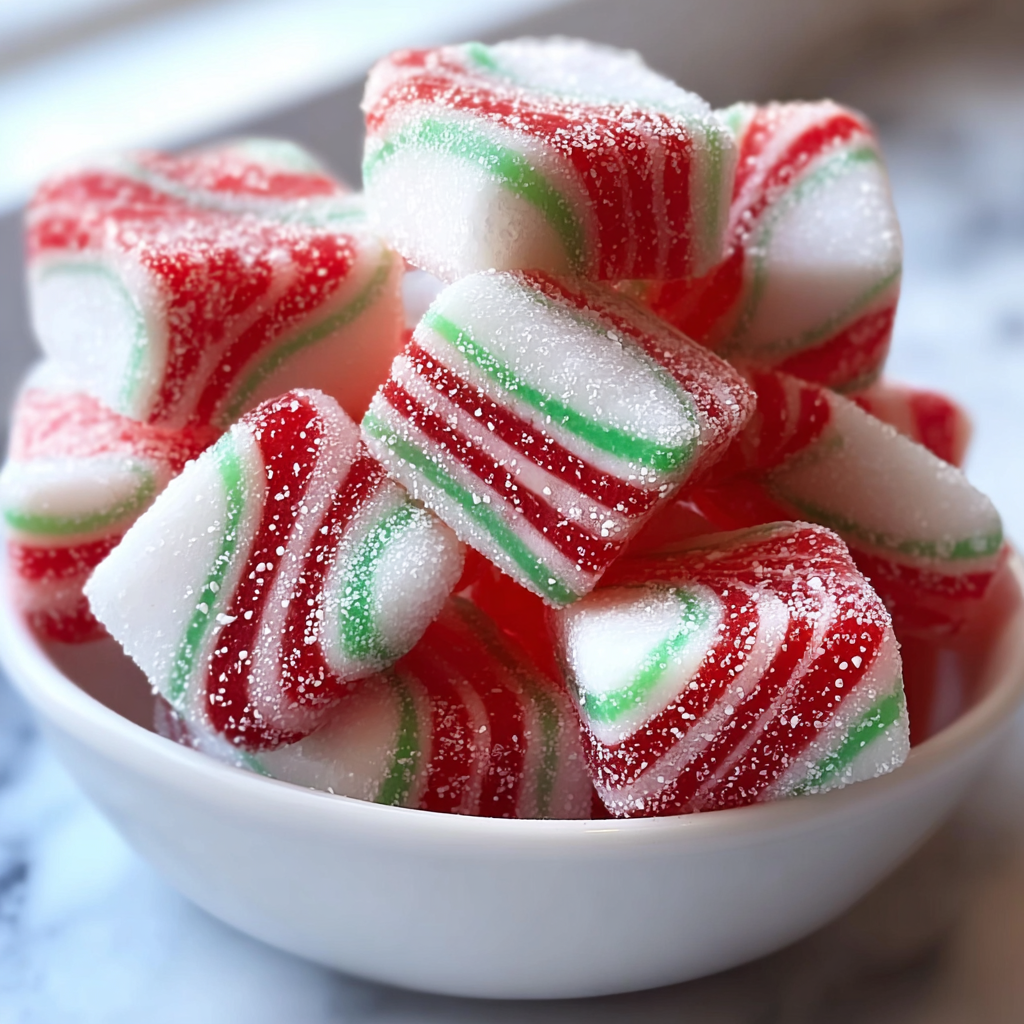
You Must Know
- These confections are high in sugar and energy-dense — a small piece goes a long way, roughly 30–40 kcal depending on size.
- Store at room temperature in an airtight tin or container; they keep well for up to two weeks in a dry environment and will soften if exposed to humidity.
- They freeze well: flash-freeze on a tray, then transfer to a freezer-safe bag for up to three months. Thaw at room temperature before serving.
- Because they contain sweetened condensed milk, they are not dairy-free or vegan; they are naturally gluten-free if ingredients are verified.
My favorite thing about these is the ritual of slicing and shaping: children crowd around the table to cut small candies, and I love watching them choose which color goes where. One year my niece insisted on making an all-green batch for her classroom party — they vanished before the bus ride home.
Storage Tips
Keep the candies in a single layer or separated by parchment between layers to prevent sticking. Use an airtight tin or container and store in a cool, dry place away from sunlight — a pantry shelf works well. If humidity is a concern where you live, include a small packet of silica gel in the gift tin (food-safe type) to maintain dryness. For longer storage, freeze on a sheet pan until solid, then transfer to a zip-top freezer bag; when ready to serve, thaw at room temperature for 30–60 minutes.
Ingredient Substitutions
If peppermint isn’t your favorite, swap the peppermint extract for pure vanilla or almond extract at the same proportion for a different profile. To reduce sugar slightly, try replacing up to 1/4 cup of powdered sugar with finely ground powdered sucralose sweetener designed for baking, but expect slightly different texture. For a dairy-free option, use a commercially available dairy-free condensed milk substitute (check sweetness and thickness), but you may need to add a touch more powdered sugar for the correct consistency.
Serving Suggestions
Arrange these on a festive platter alongside shortbread or chocolate truffles for contrast in texture and flavor. They’re lovely tucked into mini cellophane bags with a ribbon as hostess gifts, or placed in a decorative tin layered with parchment for mailing. Garnish the serving tray with fresh peppermint leaves or candy cane shards for a holiday touch. Pair with hot cocoa or a mild tea to balance the sweetness.
Cultural Background
Mint-flavored confections have roots in European and North American holiday traditions where mint and sugar have long been associated with festive treats. The candy-cane pattern and peppermint flavor evoke classic seasonality, often linked to Victorian-era sweets and later commercial holiday candies. This soft version is a modern, home-kitchen adaptation that captures familiar flavors while offering a gentler texture than boiled candies.
Seasonal Adaptations
For winter, stick to traditional red and green. For Valentine’s Day, swap green for pink and shape them into hearts. In summer, use citrus extract and pastel colors for a lighter feel. For a Halloween twist, color them orange and black and add a drop of vanilla for a “pumpkin spice” nod. Adjust the amount of extract to suit seasonal pairings with beverages or other desserts.
Meal Prep Tips
Make a double batch on a day when you’re already baking: the dough keeps well for a day wrapped tightly in plastic in the refrigerator, so you can shape and coat in stages. If preparing for gifts, portion into small containers or cellophane bags immediately after coating and let them firm up in those packages to save time. Label tins with date made and flavor notes if you make multiple variations.
These soft peppermint discs are a comforting, cheerful treat that’s easy to make and even easier to share. Enjoy the process as much as the final result — it’s the little hands and holiday chatter that make each batch memorable.
Pro Tips
If dough is too sticky, add powdered sugar 1 tablespoon at a time until it holds shape without cracking.
Use gel food coloring to avoid adding liquid that would change the texture; a toothpick’s worth of gel is usually plenty.
Dry candies at room temperature on parchment; refrigeration can introduce moisture that softens them.
This nourishing soft christmas peppermints recipe is sure to be a staple in your kitchen. Enjoy every moist, high protein slice — it is perfect for breakfast or as a wholesome snack any time.
Tags
Soft Christmas Peppermints
This Soft Christmas Peppermints recipe makes perfectly juicy, tender, and flavorful steak every time! Serve with potatoes and a side salad for an unforgettable dinner in under 30 minutes.
Ingredients
Main
Instructions
Sift powdered sugar
Sift 3 3/4 cups powdered sugar into a large bowl to remove lumps and ensure a smooth final texture. Reserve about 1/4 cup for dusting your work surface so the dough won’t stick.
Combine condensed milk and extract
Add 1/3 cup sweetened condensed milk and 1/2 teaspoon peppermint extract to the sifted sugar. Stir with a spatula until a sticky dough forms. If too wet, add powdered sugar 1 tablespoon at a time until pliable.
Divide and color the dough
Divide the dough into three even portions. Leave one plain. Tint the other two with red and green gel coloring, kneading until the color is evenly distributed and the dough is smooth.
Roll into ropes
Dust your work surface with reserved powdered sugar. Roll each portion into ropes about 1/2 inch thick and equal in length for uniform pieces.
Twist and cut
Lay the three ropes side by side and gently twist to combine the colors into a candy-cane effect. Cut the twisted ropes into 2-inch segments and press each into a round or disc.
Coat and dry
Roll each disc in granulated sugar, place on parchment-lined baking sheet, and allow to dry at room temperature for several hours or overnight until firm.
Last Step: Please leave a rating and comment letting us know how you liked this recipe! This helps our business to thrive and continue providing free, high-quality recipes for you.
Nutrition
Did You Make This?
Leave a comment & rating below or tag
@easywhiskrecipes on social media!
Categories:
You might also like...

Instant Pot Creamy Chicken and Rice
A quick and comforting one pot dinner of tender chicken, creamy rice, and vegetables cooked together in the Instant Pot for an easy weeknight meal.

Cinnamon Roll Pancake Stacks
Fluffy pancakes swirled with a warm cinnamon filling and finished with a silky cream cheese glaze. Perfect for weekend brunches and cozy mornings.

Caramel Apple Cheesecake Bars
Buttery graham crust, creamy cheesecake, spiced Granny Smith apples, crunchy streusel, and a ribbon of homemade caramel — perfect dessert bars for gatherings.
Did You Make This?
Leave a comment & rating below or tag @easywhiskrecipes on social media!
Rate This Recipe
Share This Recipe
Enjoyed this recipe? Share it with friends and family, and don't forget to leave a review!
Comments (1)
This recipe looks amazing! Can't wait to try it.
Comments are stored locally in your browser. Server comments are displayed alongside your local comments.

Hi, I'm Sophie!
What's Popular

30-Minute Meals!
Join to receive our email series which contains a round-up of some of our quick and easy family favorite recipes.