>>

A show-stopping layered dessert: moist red velvet cake, a creamy baked cheesecake center, and a tangy cream cheese frosting with a glossy red berry glaze.
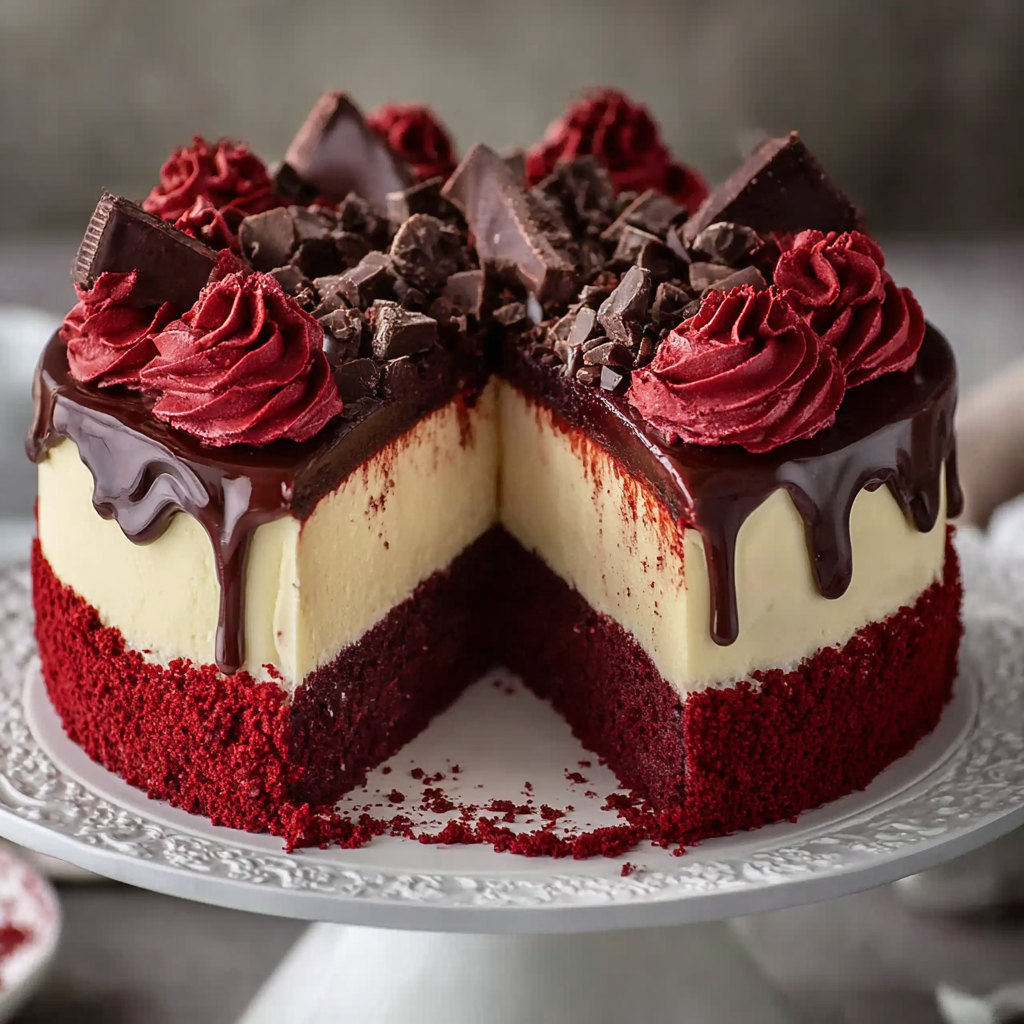
This Red Velvet Cheesecake Layer Cake is the kind of dessert that makes a celebration feel inevitable. I first made a version of this during a family birthday when I wanted something both elegant and homey: the ribbon of baked cheesecake in the middle gives each slice a silky, tangy surprise that contrasts beautifully with the tender, cocoa-kissed red velvet layers. The cream cheese frosting ties everything together with a lush, tangy finish, and the optional chocolate cookie crust adds a crunchy base that makes every bite exciting.
I discovered this combination while experimenting in a small kitchen on a rainy weekend; I wanted a cake that read fancy but used pantry staples and a few careful techniques. What makes this special is the balance—moist cake, smooth cheesecake, and a frosting that’s not too sweet. The visual effect, with a glossy red berry glaze and scattered dark chocolate chips, turns an ordinary gathering into a memorable one. Friends always ask for the recipe, and the look on their faces when they slice through the layers is why I keep making it.
When I served this at a small dinner, my uncle declared it the best birthday cake he’d had in years; my kids loved the cheesecake layer so much they fought over who got the first slice. Little discoveries—like adding a tablespoon of white vinegar to the batter for extra lift—made all the difference.
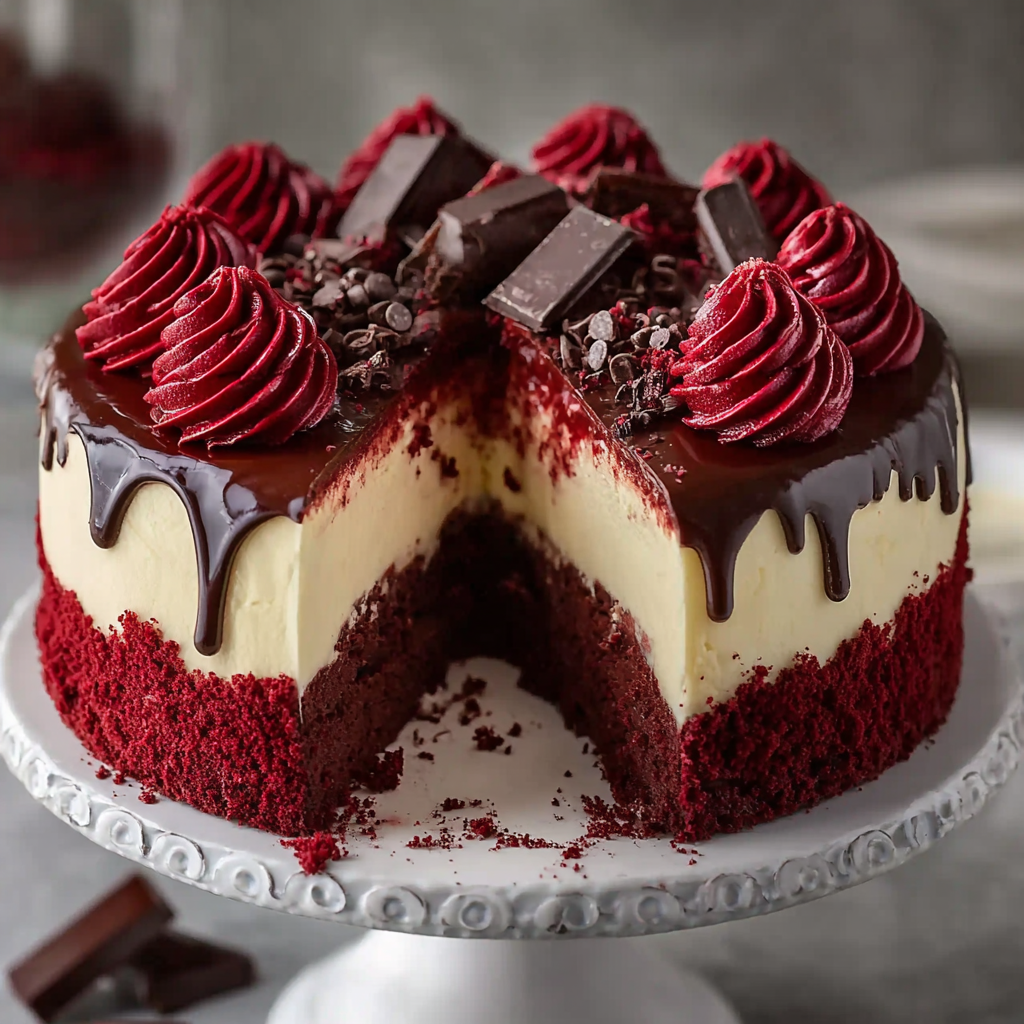
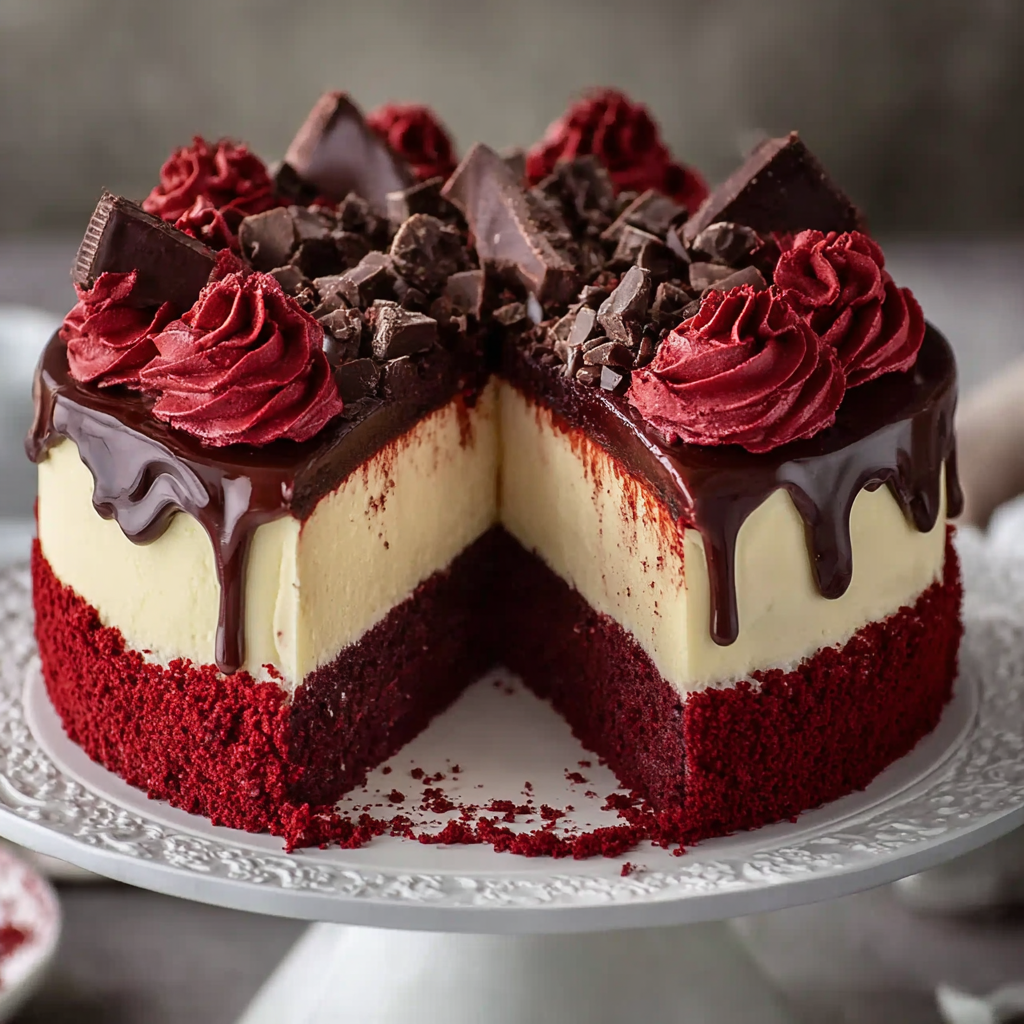
My favorite part is the moment of the first slice: the clean line of cheesecake surprises guests and the glaze adds a glossy, festive top. Over time I learned to rotate the cake in the fridge to let flavors meld; the best results come after an overnight chill, when the frosting firms and the layers hold perfectly.
Store the cake covered in the refrigerator for up to 5 days. Use an airtight cake carrier or wrap the cake plate loosely with plastic wrap to protect the frosting from absorbing other aromas. For longer storage, slice into portions and freeze individual pieces on a baking sheet, then transfer to a sealed container; they’ll keep for up to 3 months. Reheat frozen slices at room temperature for an hour or overnight in the fridge. To refresh the glaze, warm a touch of jam and spoon a thin layer over thawed portions.
If you don’t have buttermilk, combine 1 1/2 cups milk with 1 tablespoon white vinegar and let sit 5 minutes. For a lighter cheesecake, substitute half the sour cream with low-fat yogurt but expect a slightly less dense texture. Swap the cookie crust for a simple graham cracker base if you prefer a milder crunch. For a deeper chocolate note add an extra tablespoon of cocoa to the cake batter—reduce flour by 1 tablespoon to maintain balance. Use natural or artificial coloring depending on preference; natural beet powder can provide color without artificial dyes but may alter flavor slightly.
Serve slices with a dollop of lightly whipped cream or a few fresh berries to echo the glaze. For a party, arrange thin chocolate curls and extra chocolate chips on the plate for contrast. This dessert pairs beautifully with a bold coffee or a late-harvest dessert wine. For a holiday table, top with sugared cranberries or edible gold dust for an elegant touch. Serve slightly chilled—about 10–15 minutes out of the fridge so the frosting softens for a silkier mouthfeel.
Red velvet has Southern American roots, with a history tied to the attraction to its dramatic color and tender crumb. Popularized in American baking through hotels and cookbooks in the 20th century, red velvet evolved from mild cocoa flavor to the signature tangy profile often paired with cream cheese. Adding a baked cheesecake layer mixes dessert traditions—New York-style creamy center with the Southern velvet sponge—creating a hybrid that celebrates both regional approaches to celebratory cakes.
In summer, lighten the glaze with fresh berry purée and omit the heavy chocolate chips for a brighter finish. For winter holidays, infuse the glaze with a pinch of cinnamon or orange zest and top with candied nuts. Spring occasions benefit from a burst of citrus in the cheesecake—add 1 teaspoon lemon zest to the batter. For a fall twist, fold a teaspoon of espresso into the cake batter to deepen cocoa notes, pairing beautifully with the cream cheese’s tang.
Plan for a two-day timeline for best results: bake and chill the cheesecake day one, bake the cake layers and make frosting day two, then assemble and chill before serving. Make the frosting in the morning and keep it chilled until assembly. Use bench scrapers and an angled spatula for a smooth finish; a chilled crumb coat reduces crumbs in the final stage. If traveling with the cake, keep it on a non-slip mat in a cake box and transport chilled with an ice pack to maintain structure.
End your gathering with this layered centerpiece and you’ll find the ritual of slicing becomes part of the memory—people smile, linger, and ask for seconds. Make it your own by adjusting the glaze, garnishes, or even the crust; the basic structure is forgiving and delicious.
Chill the baked cheesecake overnight to ensure it holds its shape when stacking.
Use gel food coloring for vibrant red without changing batter consistency.
Avoid overmixing the cake batter to keep a tender crumb.
Warm jam gently for the glaze to avoid burning; cool slightly before pouring.
Apply a thin crumb coat of frosting and chill before the final smoothing for cleaner sides.
This nourishing red velvet cheesecake layer cake recipe is sure to be a staple in your kitchen. Enjoy every moist, high protein slice — it is perfect for breakfast or as a wholesome snack any time.
This Red Velvet Cheesecake Layer Cake recipe makes perfectly juicy, tender, and flavorful steak every time! Serve with potatoes and a side salad for an unforgettable dinner in under 30 minutes.
Combine 2 cups cookie crumbs with 1/2 cup melted butter, press into a 9-inch springform pan, and bake at 350°F for 10 minutes. Cool before adding cheesecake.
Whisk dry ingredients; combine wet ingredients in a separate bowl. Fold wet into dry until just combined, then divide between two greased 9-inch pans and bake at 350°F for 25–30 minutes.
Beat 16 ounces cream cheese with 1/2 cup sugar until smooth; add 2 eggs one at a time, then vanilla and 1/2 cup sour cream. Pour over cooled crust and bake at 325°F for 40–45 minutes until set but slightly jiggly. Chill fully.
Beat 16 ounces cream cheese with 1 cup softened butter, then gradually add 4 cups powdered sugar and 2 teaspoons vanilla until light and spreadable. Chill briefly if too soft.
Place one cake layer on the serving plate, spread thin frosting, add chilled cheesecake layer, then top with the second cake layer. Crumb coat, chill, then finish with a smooth final layer of frosting.
Warm 1/2 cup jam with 2 tablespoons water and 1 teaspoon lemon juice until pourable. Cool slightly and spoon over the cake. Pipe frosting, sprinkle crumbs, and add chocolate chips.
Chill the assembled cake for at least 2 hours (overnight preferred) to firm the layers and improve slicing.
Last Step: Please leave a rating and comment letting us know how you liked this recipe! This helps our business to thrive and continue providing free, high-quality recipes for you.
Leave a comment & rating below or tag
@easywhiskrecipes on social media!

A quick and comforting one pot dinner of tender chicken, creamy rice, and vegetables cooked together in the Instant Pot for an easy weeknight meal.
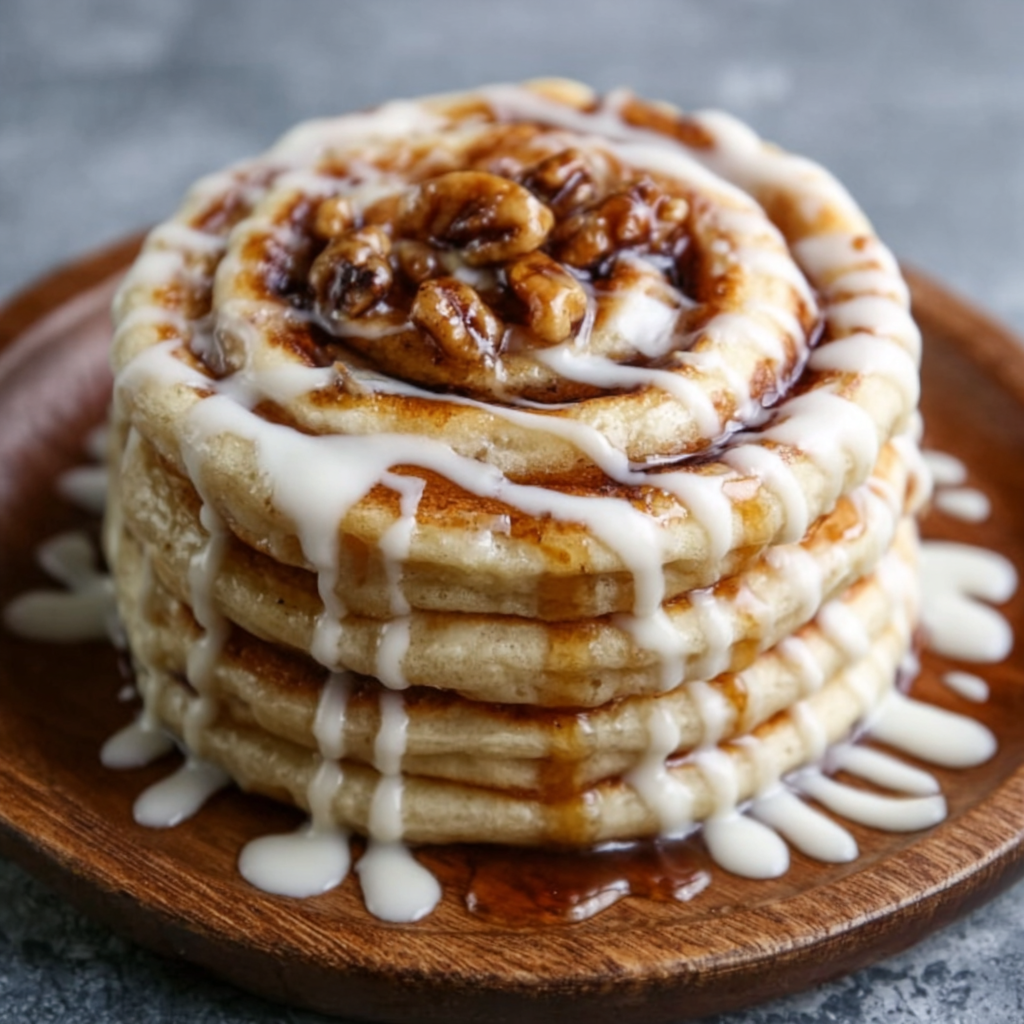
Fluffy pancakes swirled with a warm cinnamon filling and finished with a silky cream cheese glaze. Perfect for weekend brunches and cozy mornings.
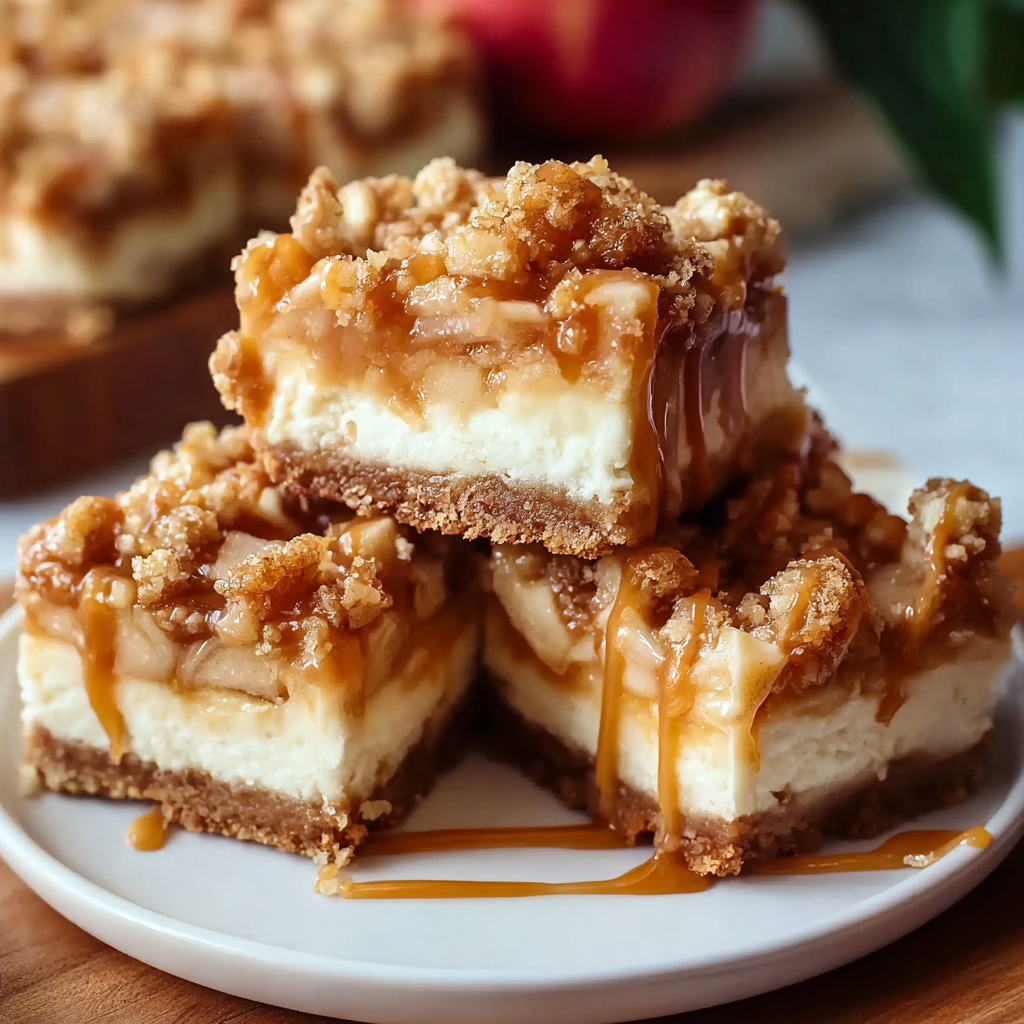
Buttery graham crust, creamy cheesecake, spiced Granny Smith apples, crunchy streusel, and a ribbon of homemade caramel — perfect dessert bars for gatherings.
Leave a comment & rating below or tag @easywhiskrecipes on social media!
Enjoyed this recipe? Share it with friends and family, and don't forget to leave a review!
This recipe looks amazing! Can't wait to try it.
Comments are stored locally in your browser. Server comments are displayed alongside your local comments.

Join to receive our email series which contains a round-up of some of our quick and easy family favorite recipes.