
>>

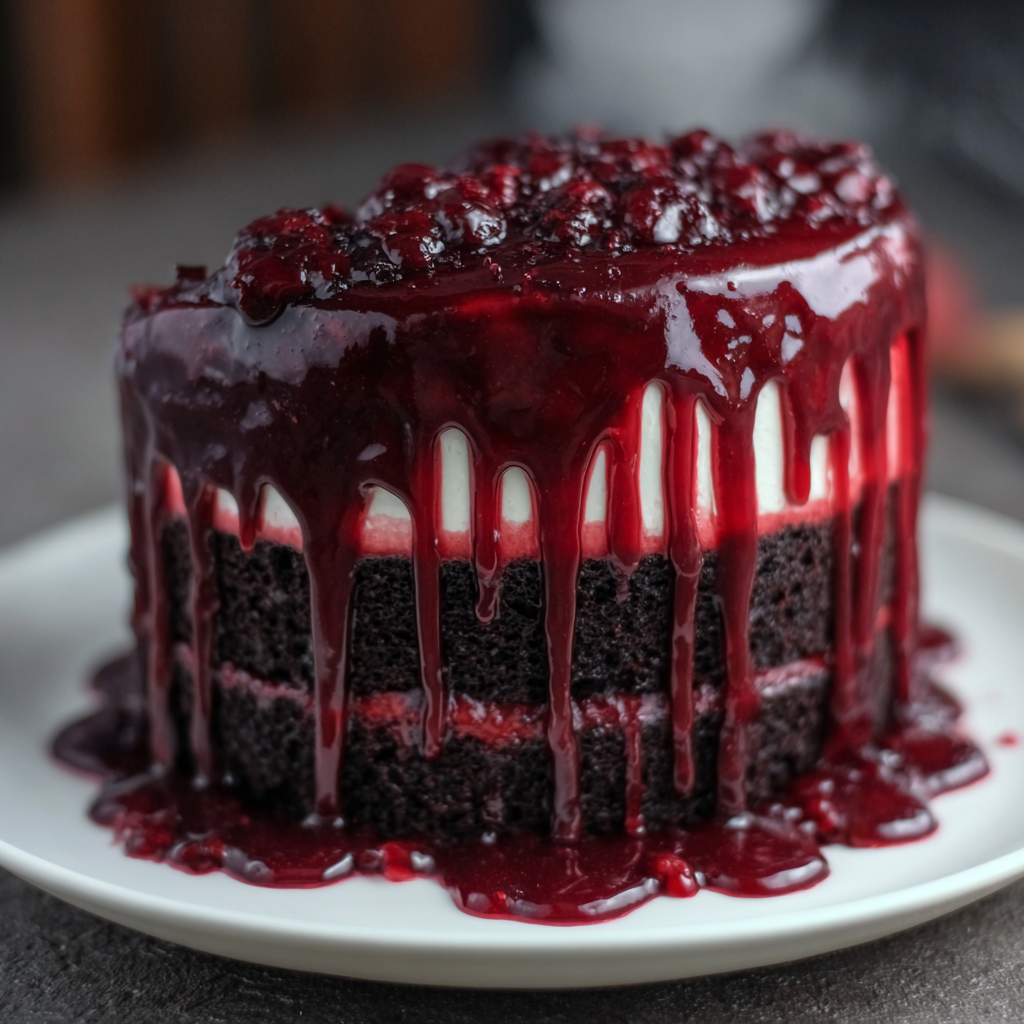
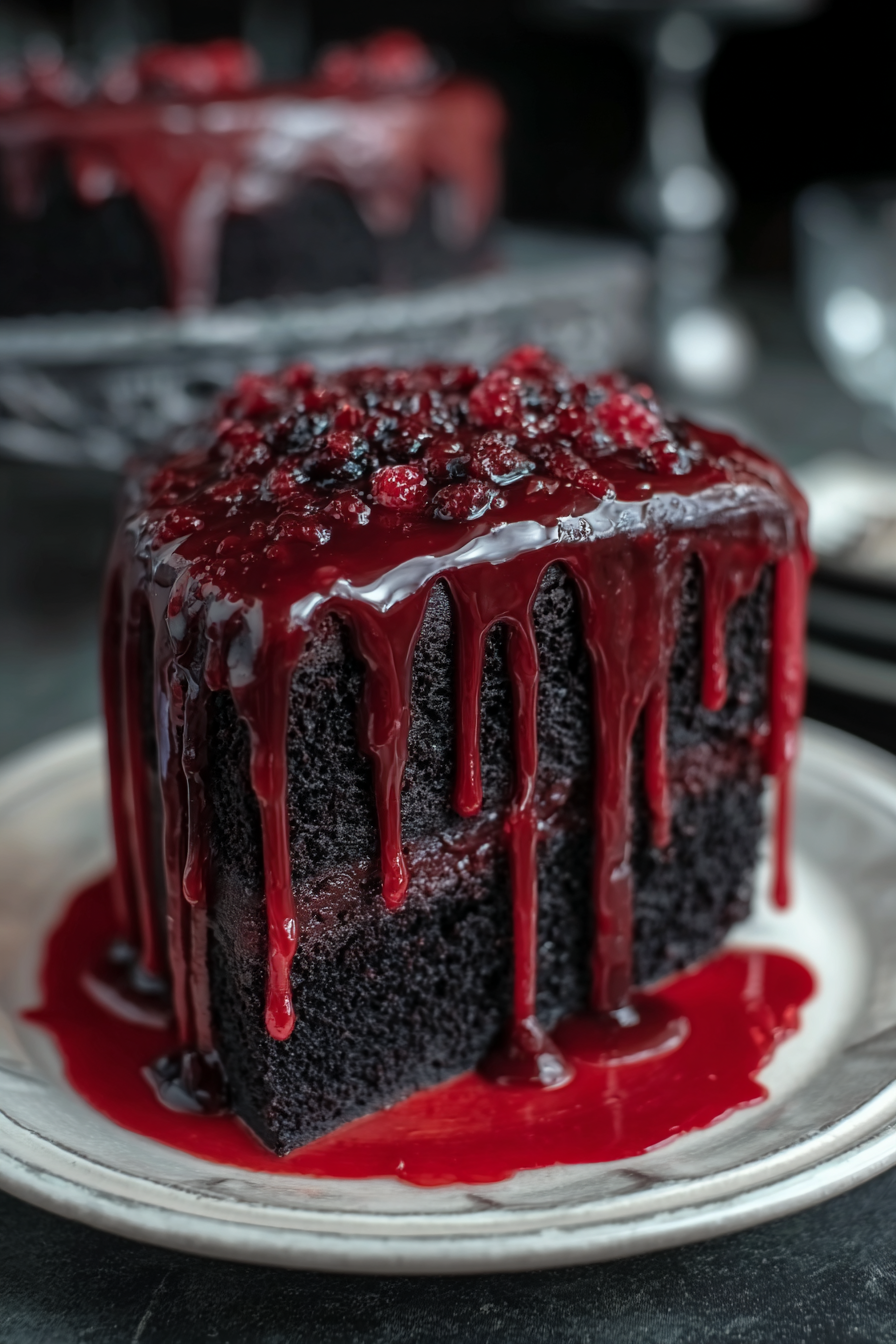
A theatrical chocolate layer cake with glossy red blood drip and dark ganache accents — showstopping for Halloween or any dramatic dessert moment.
This chocolate layer cake became my favorite seasonal centerpiece the first time I made it for a Halloween dinner party. I wanted something that looked dramatic but tasted familiar and comforting: deep cocoa, tender crumb, and a glossy, sticky red drip that reads like theatrical blood without sacrificing flavor. I discovered the balance between a moist coffee-enhanced chocolate crumb and the syrupy red drip during a late-night bake testing session; the combination was so convincing and delicious that every guest asked for the recipe.
What makes this cake special is the contrast — rich, dark chocolate layers paired with a bright, slightly sweet crimson drip that clings to the edges. The cake is sturdy enough to stack and slice cleanly, yet soft enough to melt in your mouth. I learned to adjust the drip’s viscosity so it forms long, dramatic trails down the sides without soaking the cake, and I’ll share the visual cues and timing that make that possible. This is the kind of dessert that transforms a table and starts conversations; it’s equal parts baking technique and playful presentation.
I first served this at a neighborhood potluck and watched grownups laugh when they saw the first slice reveal the decadent chocolate interior. My kids still request it each October because the red drip is so compelling — it’s playful and a little bit theatrical, but the whole cake is focused on classic flavors executed well.

My favorite part of this project is watching the drip form — pour a little, wait, add more; the best look comes from layering the syrup in stages. On one memorable evening a friend insisted it looked too realistic; we all had a laugh, and she took the largest slice. The technique is simple: temperature and consistency control the visuals, while the cake itself keeps things comforting and familiar.
Store chilled in an airtight cake carrier for up to 3 days. If you need to keep it longer, remove any delicate ganache decorations, wrap the cake tightly in plastic wrap, then foil, and freeze up to 3 months. When reheating individual slices, bring them to room temperature for 30 minutes or warm gently in a 300°F oven for 6–8 minutes to revive the texture without melting the drip.
For a dairy-free version, use full-fat coconut cream in place of heavy cream and a dairy-free ganache made with coconut milk and dark dairy-free chocolate. Replace buttermilk with almond milk plus 1 tablespoon vinegar for a non-dairy tang. To reduce sugar slightly, cut granulated sugar to 1 1/2 cups and increase cocoa by 1 tablespoon to retain depth. Swap vegetable oil for melted butter for a richer flavor but expect a slightly firmer crumb.
Serve slices with a dollop of whipped cream or a scoop of vanilla ice cream to balance the richness. Garnish with dark chocolate shavings, edible silver flakes for drama, or sugared cranberries for a seasonal twist. This cake is perfect at Halloween parties, gothic-themed weddings, or any celebration that benefits from a little theatrical flair.
Layered chocolate cakes are a staple in American dessert culture, often elevated for holidays with thematic decorations. The idea of a red syrup as a dramatic element draws from theatrical food styling and modern patisserie techniques where color and texture play key roles. This particular presentation is rooted more in contemporary party culture than any historical recipe — it’s a playful adaptation meant to combine classic baking with eye-catching design.
For winter, add warming spices (1/2 teaspoon cinnamon and a pinch of nutmeg) to the dry mix and use a spiced ganache. In summer, make smaller cupcakes and top with the drip for easier serving outdoors. For Valentine’s Day, swap the red for a deep raspberry coulis using reduced raspberry jam thinned with water and finished with corn syrup for shine.
Bake layers up to two days ahead and refrigerate wrapped tightly. Keep the drip refrigerated separately in a sealed container; rewarm gently before use so it’s pourable. When assembling multiple cakes, use a turntable and an offset spatula for fast, even layers. Label and stack chilled layers with small strips of parchment between them to prevent sticking during transport.
Whether you’re after spooky presentation or simply a delicious chocolate cake with showy flair, this version delivers both. Enjoy the process — test a small drip edge first, then go bold once you’re happy with the consistency. Share a photo with friends and relish the delighted reactions when you slice into that dramatic interior.
Chill cake layers briefly before applying drip to prevent absorption and preserve dramatic streams.
Use strong brewed coffee or espresso for richer chocolate flavor without making the cake taste like coffee.
Adjust the drip viscosity by cooling slightly to thicken or warming briefly to thin before pouring.
This nourishing perfect vampire blood drip cake recipe is sure to be a staple in your kitchen. Enjoy every moist, high protein slice — it is perfect for breakfast or as a wholesome snack any time.
Yes. Bake the layers, cool completely, wrap tightly and freeze up to 3 months. Thaw overnight in the refrigerator before assembling.
Use gel food coloring a little at a time for deeper, more stable color without watering down the syrup.
This Perfect Vampire Blood Drip Cake recipe makes perfectly juicy, tender, and flavorful steak every time! Serve with potatoes and a side salad for an unforgettable dinner in under 30 minutes.
Preheat oven to 350°F. Grease and flour two 9-inch round pans or line with parchment. Proper pan prep ensures easy removal and clean edges.
Whisk flour, sugar, cocoa, baking soda, baking powder, and salt until even. This distributes leavening and cocoa uniformly for consistent rise and color.
Whisk eggs, buttermilk, cooled coffee, oil, and vanilla. Add to dry mix and beat until smooth but not overmixed; a slightly thin batter is expected due to coffee.
Divide batter between pans and bake 30–35 minutes. Test with a toothpick; remove when it comes out with a few moist crumbs. Cool in pans 10 minutes, then on racks.
Heat cream and corn syrup until just simmering, remove from heat, and add red food coloring until deep red. Adjust temperature to control viscosity for clean drips.
Layer cakes with ganache between, chill briefly to set crumb coat, pour drip around the edge to create streams, and finish with ganache decorations.
Last Step: Please leave a rating and comment letting us know how you liked this recipe! This helps our business to thrive and continue providing free, high-quality recipes for you.
Leave a comment & rating below or tag
@easywhiskrecipes on social media!

A quick and comforting one pot dinner of tender chicken, creamy rice, and vegetables cooked together in the Instant Pot for an easy weeknight meal.

Fluffy pancakes swirled with a warm cinnamon filling and finished with a silky cream cheese glaze. Perfect for weekend brunches and cozy mornings.

Buttery graham crust, creamy cheesecake, spiced Granny Smith apples, crunchy streusel, and a ribbon of homemade caramel — perfect dessert bars for gatherings.
Leave a comment & rating below or tag @easywhiskrecipes on social media!
Enjoyed this recipe? Share it with friends and family, and don't forget to leave a review!
This recipe looks amazing! Can't wait to try it.
Comments are stored locally in your browser. Server comments are displayed alongside your local comments.

Join to receive our email series which contains a round-up of some of our quick and easy family favorite recipes.
