
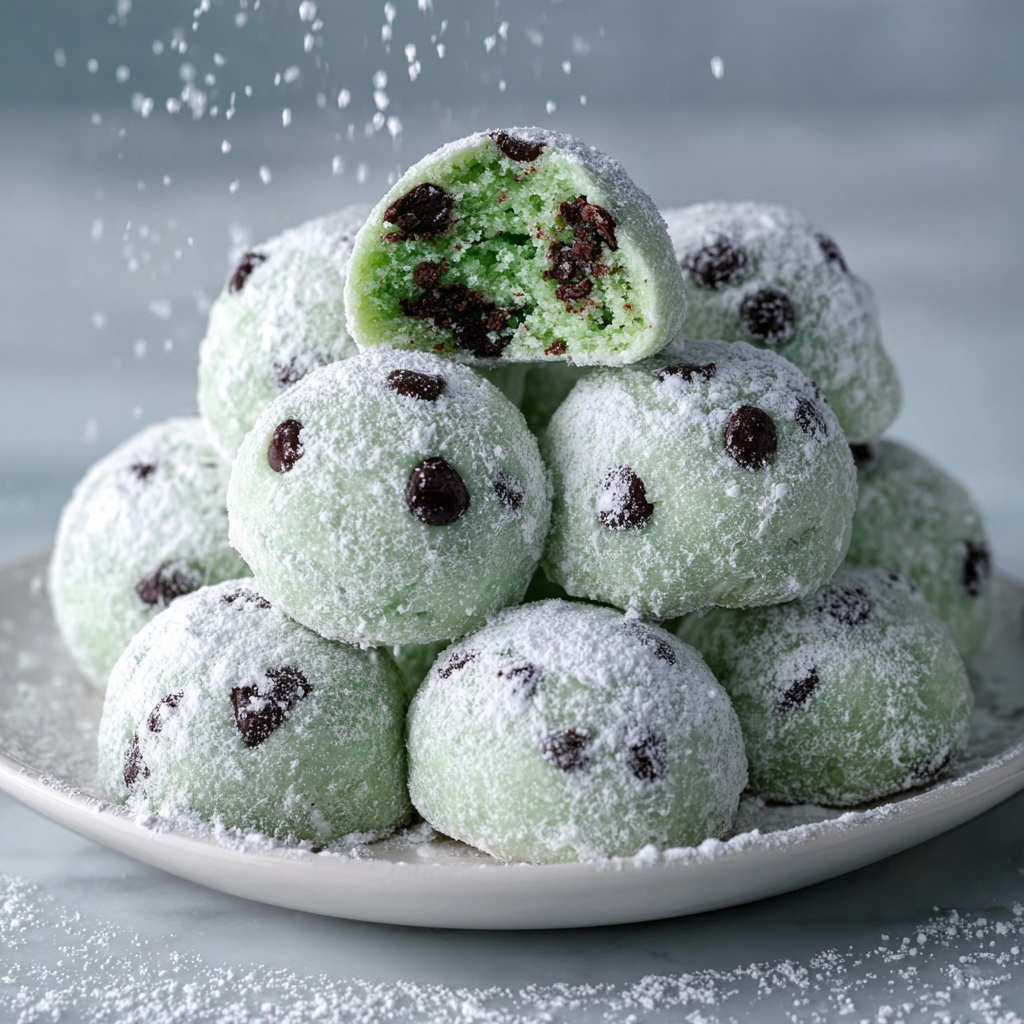
Easy Melt-in-Your-Mouth Mint Chocolate Chip Snowball Cookies

Buttery, peppermint-scented cookies studded with mini chocolate chips and rolled in snowy powdered sugar for the most festive, tender cookies you'll ever bake.

This mint chocolate chip snowball cookie recipe has become my winter ritual. I first developed it during a holiday baking marathon when I wanted a delicate, buttery cookie that felt festive without requiring advanced technique. The first batch disappeared in an hour, and my family now asks for these whenever the weather turns crisp. What sets them apart is the whisper of peppermint folded into a tender, shortbread like dough and the surprise crunch of tiny chocolate chips. The powdered sugar coating gives each bite a snowy finish that melts on the tongue, which is why I call them melt in your mouth.
I remember testing different extract ratios late one evening, measuring by scent until the balance between vanilla and peppermint felt bright but not overpowering. The texture is what sold everyone: crumbly and soft, with a slightly crisp exterior after baking. These cookies travel well, stack beautifully in tins, and pair perfectly with tea or a glass of milk. If you love shortbread, chocolate chip cookies, or peppermint candy, this combination will feel like a holiday tradition in the making.
Why You'll Love This Recipe
- Buttery and tender texture that practically dissolves on the tongue while still holding mini chocolate chips for contrast and tiny bursts of chocolate.
- Quick to prepare with only one chill period; active work time is about 20 minutes and they are ready to bake in under an hour.
- Uses pantry staples and a small number of ingredients so you can pull them together even at short notice.
- Make ahead friendly: dough can be chilled or frozen, and finished cookies keep well for gifting or parties.
- Festive appearance with the snowy powdered sugar coating and optional green tint for holiday presentation.
- Crowd pleasing for all ages and great as a bake sale or potluck contribution because they travel and store well.
I first brought these to a neighborhood cookie swap and received a note the next day asking for the recipe. My children insist on rolling each ball and dusting every cookie with extra powdered sugar, which has turned the process into a shared kitchen ritual. Baking these always sparks conversation and memories, and the house smells like a mint candy shop for hours.
Ingredients
- Unsalted Butter: 1 cup (2 sticks), softened. Use high quality butter such as Plugra or Kerrygold when possible for a richer flavor. Softening to room temperature but not melted ensures the cookies are tender and not greasy.
- Granulated Sugar: 1/2 cup. Provides light sweetness and helps the dough spread minimally for a shortbread like crumb. Caster sugar works well if you prefer a slightly finer texture.
- Pure Vanilla Extract: 1 teaspoon. Use pure extract rather than imitation for an authentic, rounded flavor that complements the peppermint.
- Peppermint Extract: 1 teaspoon. This is the main aroma so quality matters. Start with one teaspoon; you can reduce or increase slightly to taste but avoid too much which can be medicinal.
- All Purpose Flour: 2 1/4 cups. Measure by spooning into the cup and leveling with a knife to avoid dense dough. King Arthur or similar all purpose flours give consistent results.
- Salt: 1/4 teaspoon. A small amount sharpens the sweetness and rounds the flavor.
- Mini Chocolate Chips: 1 cup. Mini chips distribute through the dough without breaking its delicate structure. Use semi sweet or dark mini chips for the best contrast.
- Powdered Sugar: 1 1/2 cups, divided into 1/2 cup and 1 cup for double coating. Use sifted confectioners sugar for a smooth, even snowy finish.
- Optional: A few drops of green food coloring if you want a festive tint, added with the extracts.
Instructions
Preheat and Prepare: Preheat the oven to 350 degrees F (175 degrees C). Line two or three large baking sheets with parchment paper or silicone mats so cookies slide off easily after baking. Prep first so you can bake right after chilling the dough. Mix Dry Ingredients: In a medium bowl, whisk together 2 1/4 cups all purpose flour and 1/4 teaspoon salt until well combined. Set aside to keep the flour aerated. Proper whisking prevents pockets of salt and ensures even texture. Cream Butter and Sugar: In a large bowl, use an electric mixer to beat 1 cup softened unsalted butter on medium speed for 1 to 2 minutes until light and creamy. Gradually add 1/2 cup granulated sugar and beat for another 2 to 3 minutes until the mixture is paler and fluffy. Scrape the bowl sides occasionally. Flavors and Color: Beat in 1 teaspoon pure vanilla extract and 1 teaspoon peppermint extract until just combined. If using food coloring, add a few drops and mix until you reach the desired shade of green. Remember, a little goes a long way with concentrated colors. Combine Dry and Wet: With the mixer on low, add the flour and salt mixture in three additions, mixing just until incorporated after each to avoid overworking the dough. The goal is a tender, crumbly texture not an elastic dough. Fold in Chocolate: Remove the bowl from the mixer and gently fold in 1 cup mini chocolate chips with a rubber spatula until evenly distributed. The dough will be thick and slightly tacky. Chill: Cover the bowl tightly with plastic wrap and refrigerate for at least 30 minutes to 1 hour. Chilling firms the butter so the cookies do not spread and makes dough easier to scoop and roll. Shape and Bake: Once chilled, scoop dough with a small cookie scoop (about 1 tablespoon). Roll each portion between your palms to form smooth 1 inch balls and space them 1 to 1 1/2 inches apart on the prepared sheets. Bake for 10 to 12 minutes until edges are lightly golden and centers appear set but pale. Avoid overbaking for best melt in your mouth texture. Cool and Coat: Let the cookies cool on the baking sheets for 5 to 10 minutes. While still warm but not hot, roll each cookie in a shallow bowl with 1/2 cup powdered sugar until coated. Transfer to a wire rack and cool completely for 30 to 60 minutes before rolling in the final coating of 1 cup powdered sugar for a thick, snowy finish.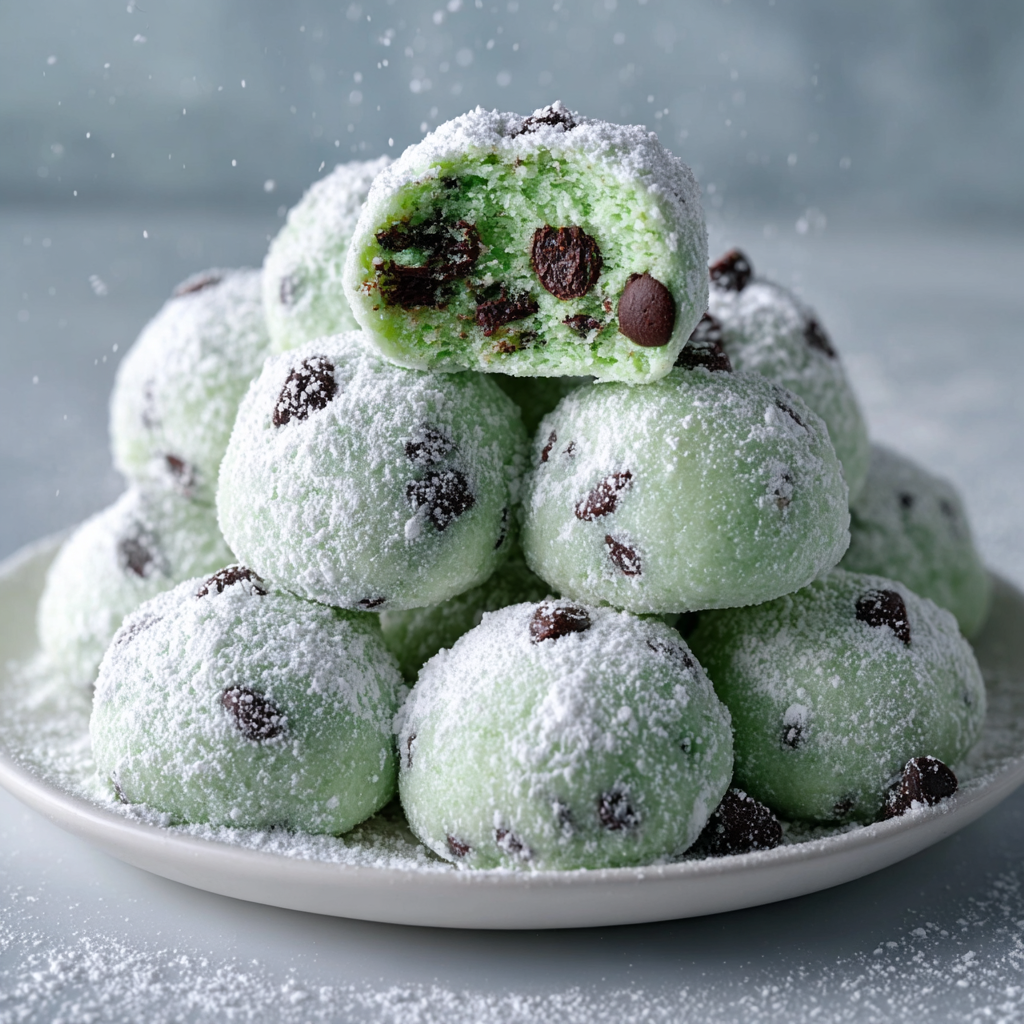
You Must Know
- These cookies keep well at room temperature in an airtight container for up to 5 days if stored on a single layer or with baking paper between layers.
- Dough can be chilled overnight or frozen for up to 3 months. When frozen, bake directly from partially thawed dough, adding 1 to 2 minutes to the bake time.
- Double coating in powdered sugar gives a distinctive snowy look and prevents the outer sugar from dissolving into the cookie over time.
- They are rich in butter and therefore calorie dense; portion control is helpful if you are watching intake.
One of my favorite things about these cookies is how they retain their delicate texture even after travel. I have packed them in tins for holiday gift giving and they arrived looking just as snowy. The peppermint is lively but never sharp, and the mini chips create tiny pockets of chocolate that contrast with the soft, crumbly interior. Friends often comment that the texture reminds them of a refined shortbread crossed with a coveted holiday classic.
Storage Tips
Store completely cooled cookies in an airtight tin or container at room temperature for up to five days. Layer with parchment or wax paper to protect the powdered sugar coating. For longer storage, place in a freezer safe container and freeze for up to three months. To thaw, move to the refrigerator for a few hours then bring to room temperature so the snow like coating does not sweat. Reheat briefly in a warm oven for a few minutes if you prefer a slightly warm center.
Ingredient Substitutions
If you need to swap ingredients, use equal measure of salted butter but omit the added 1/4 teaspoon salt. For a dairy free version, substitute a firm plant based butter stick measured cup for cup but expect a slightly different crumb. Gluten free all purpose blends can work cup for cup; choose a blend that contains xanthan gum or add 1/4 teaspoon to mimic structure. Swap mini chips for finely chopped chocolate if you prefer larger pockets of chocolate.
Serving Suggestions
Serve on a platter dusted with extra powdered sugar for a snowy display. Pair with hot chocolate, strong black tea, or espresso. For a dessert plate, include shortbread fingers, candied nuts, or candied orange slices to complement the peppermint. Garnish with a fresh mint leaf for a refined look or add a few chopped candy canes around the platter during the holidays for a festive crunch.
Seasonal Adaptations
For a holiday version, fold in 1/4 cup crushed peppermint candy along with the chips and use red and green sprinkles before the first sugar roll. In summer, omit the peppermint and replace with 1 teaspoon almond extract plus lemon zest for a bright variation. For St Patrick Day, keep the green tint and add a teaspoon of matcha to the flour for color and subtle grassy notes.
Meal Prep Tips
Make dough ahead and portion into tablespoon scoops on a baking sheet, freeze until firm, then transfer to a freezer bag. Bake from frozen adding 1 to 2 minutes. For parties, bake a day ahead and store in a single layer in a tin. The double powdered sugar coating prevents the surface from absorbing moisture and helps maintain the snowy appearance.
Success Stories
At a recent family gathering I brought three dozen and they vanished faster than any other sweet on the table. A neighbor told me they sliced them in half and used them as a base for mini ice cream sandwiches which was an inspired use. Another friend wrote that these are now their go to cookie for gift tins because they handle travel so well and still look lovely after a long car ride.
These cookies are easy enough for a beginning baker and rewarding enough for an experienced cook. Give them a try at your next gathering and make them your own with a touch of customization. Happy baking and enjoy the snowy, minty goodness.
Pro Tips
Chill the dough for at least 30 minutes to prevent spreading and to make shaping easier.
Use mini chocolate chips so the delicate texture of the cookie is preserved and chips do not break the structure.
Coat in powdered sugar while the cookies are warm for the first layer, then after cooling for a thick snowy finish.
This nourishing easy melt-in-your-mouth mint chocolate chip snowball cookies recipe is sure to be a staple in your kitchen. Enjoy every moist, high protein slice — it is perfect for breakfast or as a wholesome snack any time.
FAQs about Recipes
Can I prepare the dough ahead of time?
Yes. Dough can be chilled in the refrigerator for up to 48 hours before baking. For longer storage, freeze portions for up to 3 months.
How long should I bake these cookies?
Bake for 10 to 12 minutes until edges are lightly golden and centers look set but still pale. Overbaking will make them dry.
Tags
Easy Melt-in-Your-Mouth Mint Chocolate Chip Snowball Cookies
This Easy Melt-in-Your-Mouth Mint Chocolate Chip Snowball Cookies recipe makes perfectly juicy, tender, and flavorful steak every time! Serve with potatoes and a side salad for an unforgettable dinner in under 30 minutes.
Ingredients
Dough
Coating
Instructions
Preheat and line pans
Preheat oven to 350 degrees F (175 degrees C) and line baking sheets with parchment or silicone mats.
Whisk dry ingredients
Whisk together 2 1/4 cups flour and 1/4 teaspoon salt in a medium bowl and set aside.
Cream butter and sugar
Beat 1 cup softened butter until creamy, add 1/2 cup sugar and continue beating until pale and fluffy.
Add extracts and color
Mix in 1 teaspoon vanilla and 1 teaspoon peppermint extract. Add green food coloring if using.
Combine dry and wet
Add flour mixture in three additions on low speed, mixing until just combined to avoid overworking the dough.
Fold in chips and chill
Gently fold in 1 cup mini chocolate chips, cover and refrigerate dough for 30 to 60 minutes.
Shape and bake
Scoop tablespoons of dough, roll into 1 inch balls, place on sheets and bake 10 to 12 minutes until edges are lightly golden.
Double coat in powdered sugar
Roll warm cookies in 1/2 cup powdered sugar, cool completely, then roll in remaining 1 cup powdered sugar for a thick coating.
Last Step: Please leave a rating and comment letting us know how you liked this recipe! This helps our business to thrive and continue providing free, high-quality recipes for you.
Nutrition
Did You Make This?
Leave a comment & rating below or tag
@easywhiskrecipes on social media!
Categories:
You might also like...

Instant Pot Creamy Chicken and Rice
A quick and comforting one pot dinner of tender chicken, creamy rice, and vegetables cooked together in the Instant Pot for an easy weeknight meal.

Cinnamon Roll Pancake Stacks
Fluffy pancakes swirled with a warm cinnamon filling and finished with a silky cream cheese glaze. Perfect for weekend brunches and cozy mornings.

Caramel Apple Cheesecake Bars
Buttery graham crust, creamy cheesecake, spiced Granny Smith apples, crunchy streusel, and a ribbon of homemade caramel — perfect dessert bars for gatherings.
Did You Make This?
Leave a comment & rating below or tag @easywhiskrecipes on social media!
Rate This Recipe
Share This Recipe
Enjoyed this recipe? Share it with friends and family, and don't forget to leave a review!
Comments (1)
This recipe looks amazing! Can't wait to try it.
Comments are stored locally in your browser. Server comments are displayed alongside your local comments.

Hi, I'm Sophie!
What's Popular

30-Minute Meals!
Join to receive our email series which contains a round-up of some of our quick and easy family favorite recipes.