
Little Debbie Christmas Tree Cake Truffles (Easy No-Bake Recipe)

Turn festive Little Debbie Christmas Tree Cakes into irresistible no-bake truffles coated in white chocolate and sprinkled with holiday color — quick, playful, and perfect for gifting.
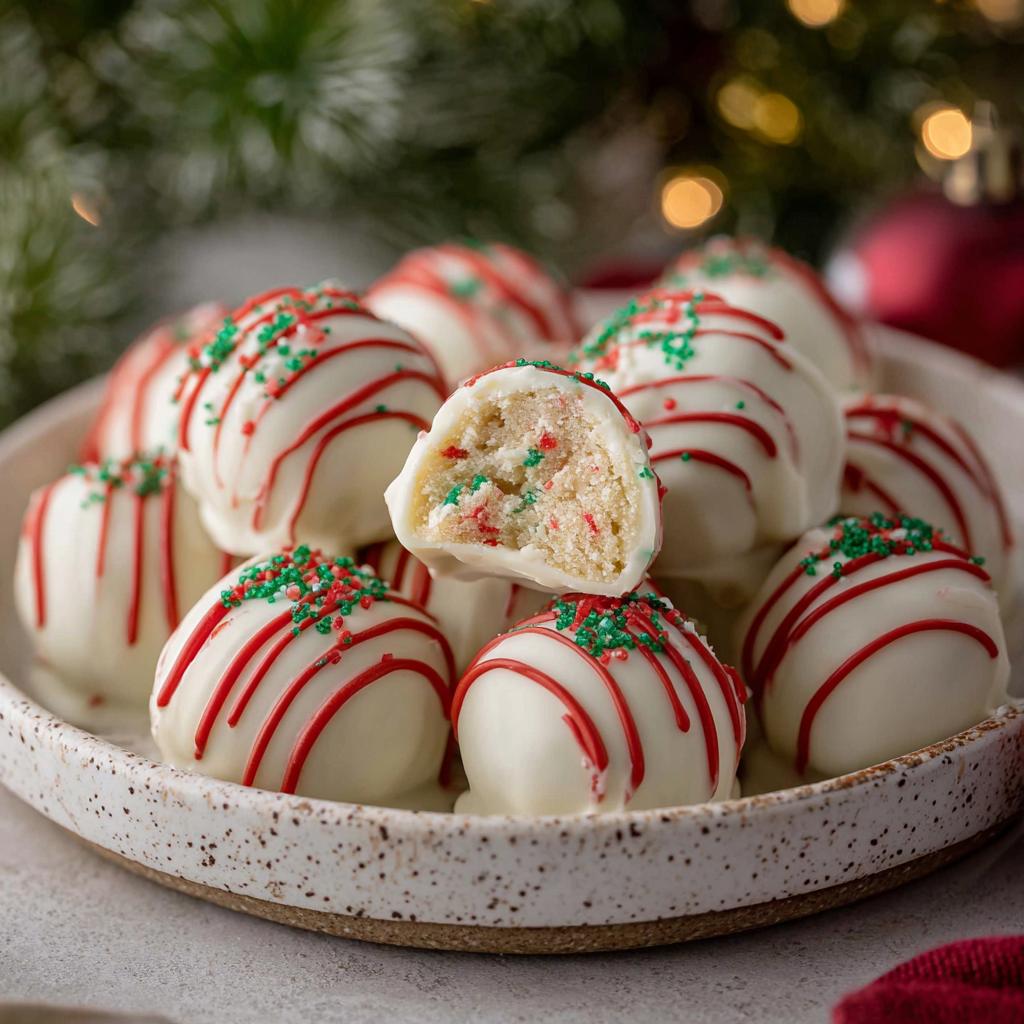
This recipe for Little Debbie Christmas Tree Cake truffles began as a last-minute holiday rescue the year I realized I had more guests than cookies. I pulled a box of the seasonal cakes from my pantry, thinking I would serve them as-is, but the idea of turning them into bite-sized truffles stuck. The result was a simple transformation: soft cake crumbs bound into little balls, dipped in glossy white coating, and finished with festive sprinkles and a pop of red drizzle. The texture is creamy and tender on the inside with a delicate snap of coating on the outside — a perfect contrast that delights both kids and adults.
I love how portable these treats are: they travel well to parties, fit neatly into cookie tins for gifting, and take under an hour from start to finish with minimal hands-on time. The sweet, familiar flavor of the original cakes shines through, but the coating elevates the presentation into something that looks and feels homemade. I discovered this method while juggling dinner and holiday prep; making truffles allowed me to multitask — the cakes crumble quickly while I finished other tasks, and chilling them gives me a minute to breathe. They now show up at nearly every holiday gathering in my family, always disappearing first.
Why You'll Love This Recipe
- Fast and fuss-free: ready in about 30 minutes with minimal hands-on time, perfect for last-minute parties.
- Uses pantry-friendly ingredients: a single box of seasonal cakes becomes an impressive batch of bite-sized treats.
- Child-friendly prep: kids can help crumble, roll, and decorate, making this a great activity for holiday baking days.
- Make-ahead friendly: you can form the truffles a day ahead and dip them just before serving to keep coatings crisp.
- Customizable finishes: swap sprinkles, change drizzle colors, or use dark chocolate for a richer contrast.
- Gift-ready presentation: they pack beautifully into small boxes or tins for neighbors and co-workers.
In my house these truffles became a quick holiday tradition — my niece insists on helping with the sprinkles, and my husband judges the best drizzle technique. The first time I served them, even the most dessert-averse guest took two. They’re playful enough for children, polished enough for a cookie swap, and reliably crowd-pleasing.
Ingredients
- Little Debbie Christmas Tree Cakes (1 box, 5 cakes): Look for the seasonal box in grocery stores during the holidays. These provide the sweet, cakey base; if you prefer denser truffles, chill the cakes before working with them.
- White chocolate or candy melts (8 ounces): Use a good-quality melting wafer or confectionery coating for a glossy, easy-to-temper result. Brand suggestions: Wilton candy melts or Ghirardelli white melting wafers for consistent melting.
- Festive sprinkles (3 tablespoons): Choose small, nonpareil or jimmies so they stick easily into the cake mixture and look delicate on the finished truffles.
- Red candy melts (3 tablespoons, optional): For a decorative drizzle. Use a small piping bag or a zip-top bag snipped at the corner for control.
- Green sanding sugar (to taste): Adds shimmer and a crunchy contrast; sprinkle immediately after drizzling or dipping so it adheres to the coating.
- Parchment paper: For setting the dipped truffles. A silicone mat works well too.
Instructions
Unwrap and crumble: Unwrap the Little Debbie Christmas Tree Cakes and place the 5 cakes in a large mixing bowl. Use your hands or a handheld mixer to break them down until you have an even crumb. If you use a mixer, pulse gently to avoid creating a paste — you want a uniform, slightly moist crumb that will hold when rolled. Mix in sprinkles: Stir in the 3 tablespoons of festive sprinkles with a spoon or spatula, folding until evenly distributed. The sprinkles add color and texture; fold them in last so they retain shape rather than dissolving into the crumbs. Form the truffles: Using a tablespoon or small cookie scoop, portion the crumb mixture and roll between your palms into 1-inch balls. Place each one on a parchment-lined baking sheet. If the mixture feels too sticky, chill for 10 minutes to firm up. Aim for uniform size so coatings set evenly and presentation looks tidy. Chill to firm: Refrigerate the formed balls for at least 15 minutes. Chilling makes dipping easier and reduces the chance that the truffle interior will melt the coating. Melt the white coating: Heat the 8 ounces of white chocolate or candy melts in 20- to 30-second bursts in the microwave, stirring between intervals until smooth. Alternatively, use a double boiler set over simmering water. If using chocolate (not candy melts), add a teaspoon of neutral oil if needed to thin and achieve a glossy finish. Dip and set: Using a fork or dipping tool, lower each chilled ball into the melted coating, tapping the fork gently on the bowl rim to remove excess. Place coated truffles back on parchment. If you notice pooling or thick bits, tap the pan gently to level the coating quickly. Drizzle and decorate: Melt the red candy melts in a small bag in 20- to 30-second bursts, massaging between intervals. Snip a tiny corner and drizzle over the truffles for contrast. While the drizzle is still wet, sprinkle green sanding sugar for sparkle. Return to the fridge for a few minutes to fully set.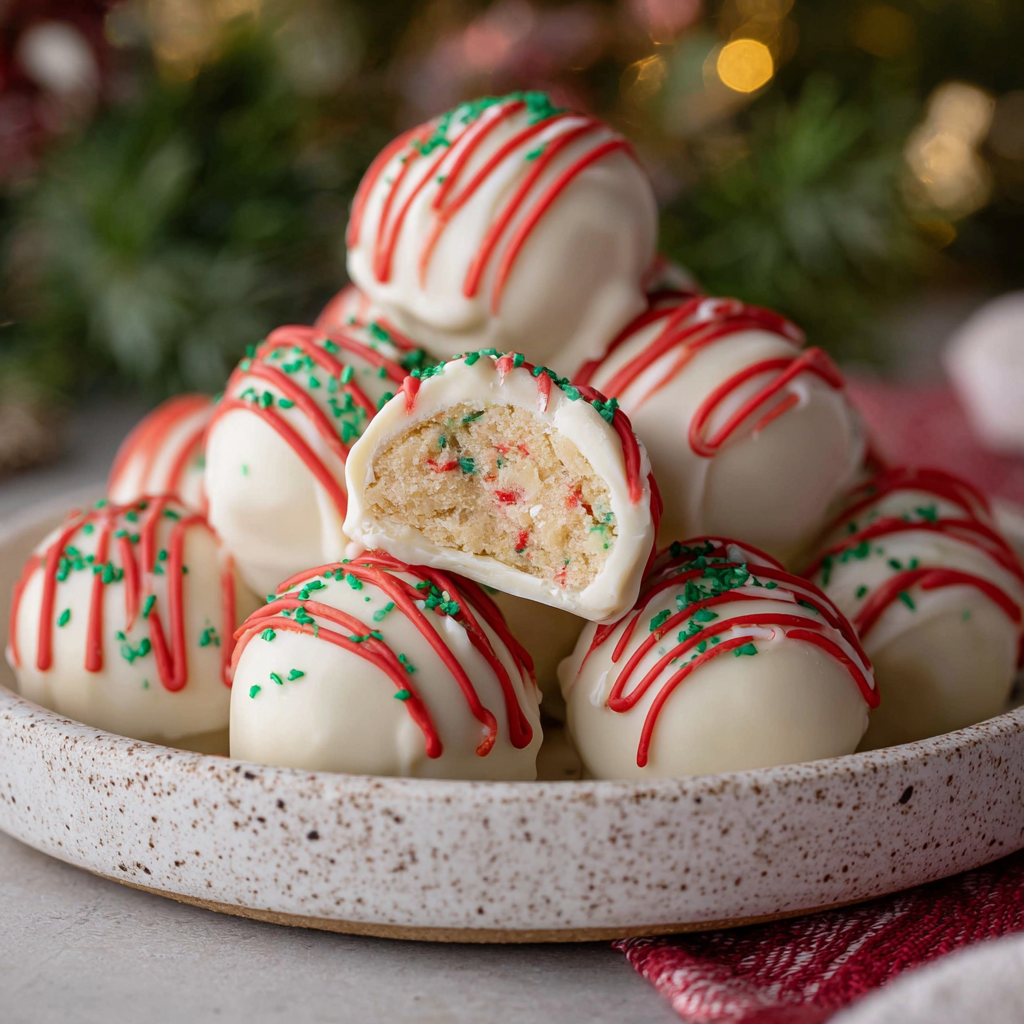
You Must Know
- These are not shelf-stable for long — store chilled if you plan to keep them more than a few hours; they stay best refrigerated for up to 5 days.
- They freeze well: flash-freeze on a tray then transfer to an airtight container for up to 3 months. Thaw in the fridge before serving to avoid condensation on the coating.
- Allergens: contain dairy, eggs, and gluten from the cakes and white coating; suitable for vegetarian diets that allow eggs and dairy, but not for vegan or gluten-free diets.
- Texture tip: chill the formed balls before dipping to keep coatings smooth and prevent cracking as the centers warm.
My favorite part is the contrast between the pillowy inside and the crisp outer shell — it feels indulgent without much effort. I once made a batch for a cookie swap and a neighbor asked for the recipe on the spot; another time they disappeared from a holiday platter before dessert was served. Little adjustments — thicker drizzle, different sprinkles — make these feel fresh each year.
Storage Tips
Store the truffles in a single layer in an airtight container to prevent the coatings from sticking. If stacking is necessary, separate layers with parchment. Refrigerate for up to 5 days for best texture; the interior softens at room temperature, so chill if you prefer a firmer bite. For longer storage, freeze on a tray until solid, then transfer to a freezer-safe container for up to 3 months. To thaw, move them to the refrigerator for several hours to minimize condensation on the coating. When serving, bring to room temperature for 10–15 minutes to soften the center slightly.
Ingredient Substitutions
If you don’t have white candy melts, use white chocolate bars finely chopped and melted gently over a double boiler. For a bolder flavor, substitute milk or dark chocolate — reduce sweetness accordingly. Swap the red candy melts for colored royal icing or melted dark chocolate tinted with oil-based food color if you need a gluten-free or dairy-free option (ensure the base cakes are also gluten-free). To add a nutty note, fold 1 tablespoon finely chopped pecans or almond meal into the crumb mixture, but note this changes texture and shelf life.
Serving Suggestions
Serve truffles on a decorative platter with holiday greenery or edible gold leaf for an elegant touch. They pair wonderfully with strong coffee, black tea, or sparkling cider. For party platters, arrange truffles with other small sweets like peppermint bark, hazelnut bites, and shortbread to offer variety. If gifting, nestle truffles in cupcake liners inside a clear box and tie with ribbon for instant charm. For a kid-friendly twist, provide small bowls of extra sprinkles and let guests personalize their own.

Cultural Background
These truffles are a modern, playful spin on holiday confections, inspired by the American tradition of repurposing store-bought seasonal treats into homemade sweets. Transforming boxed cakes or cookies into truffles is a popular technique for turning familiar flavors into elegant bite-sized desserts — a trend that grew with the rise of simple, approachable no-bake methods. While not rooted in a single regional cuisine, the method reflects a contemporary food culture that values convenience, creativity, and festive presentation.
Seasonal Adaptations
Change sprinkle colors and drizzle hues to match holidays: use orange and black for Halloween, pastel sprinkles and light blue drizzle for spring celebrations, or metallic sugars for New Year’s Eve. In winter, add 1/4 teaspoon of ground cinnamon or a pinch of nutmeg to the crumb mixture for warmth. For summer gatherings, swap white coating for thin layers of dark chocolate and top with toasted coconut for a lighter finish. Small ingredient changes let the same basic method suit any season.
Meal Prep Tips
Form the truffle centers up to two days ahead and keep chilled; dip and decorate on the day you’ll serve for the freshest appearance. To speed up dipping for larger batches, melt coating in a shallow bowl and work quickly, refreshing the coating if it thickens. Use a fork or dipping tool and tap off excess to prevent pooling. For efficient cleanup, line a baking sheet with disposable parchment and keep extra sprinkles and sanding sugar within reach for swift finishing.
These truffles are proof that a small amount of effort transforms a simple boxed snack into something special. They’re forgiving, portable, and endlessly adaptable — try a few variations and make the method your own. Happy baking (and dipping)!
Pro Tips
Chill formed centers for at least 15 minutes before dipping to reduce cracking and improve coating smoothness.
Use a small piping bag or a snipped zip-top bag for controlled drizzle work; keep warm to prevent setting while you work.
If white chocolate thickens, stir in 1 teaspoon neutral oil to loosen and give a glossy finish.
This nourishing little debbie christmas tree cake truffles (easy no-bake recipe) recipe is sure to be a staple in your kitchen. Enjoy every moist, high protein slice — it is perfect for breakfast or as a wholesome snack any time.
FAQs about Recipes
Can I freeze the truffles?
Yes — form the centers and freeze them on a tray first to make dipping faster and neater. Transfer to a sealed container for longer storage.
Why do my coatings crack?
If you prefer a firmer center, chill the formed balls for 30 minutes before dipping. If the coating cracks, warm briefly and re-dip.
Tags
Little Debbie Christmas Tree Cake Truffles (Easy No-Bake Recipe)
This Little Debbie Christmas Tree Cake Truffles (Easy No-Bake Recipe) recipe makes perfectly juicy, tender, and flavorful steak every time! Serve with potatoes and a side salad for an unforgettable dinner in under 30 minutes.
Ingredients
Main
Instructions
Unwrap and crumble
Unwrap the 5 Little Debbie Christmas Tree Cakes and place them in a large bowl. Break them down into fine crumbs using your hands or a handheld mixer, pulsing gently to avoid turning them into a paste.
Mix in sprinkles
Fold 3 tablespoons of festive sprinkles into the crumbs until evenly distributed. Add them last so they retain shape and color.
Form balls
Scoop tablespoon-sized portions and roll between your palms into 1-inch balls. Place on a parchment-lined baking sheet and chill for at least 15 minutes to firm up.
Melt white coating
Melt 8 ounces of white chocolate or candy melts in 20- to 30-second microwave bursts, stirring between intervals, or use a double boiler until smooth.
Dip and decorate
Dip chilled balls into melted coating with a fork, tap off excess, and return to parchment. Melt red candy melts in a small bag and drizzle over truffles; top with green sanding sugar while wet, then chill briefly to set.
Last Step: Please leave a rating and comment letting us know how you liked this recipe! This helps our business to thrive and continue providing free, high-quality recipes for you.
Nutrition
Did You Make This?
Leave a comment & rating below or tag
@easywhiskrecipes on social media!
Categories:
You might also like...

Instant Pot Creamy Chicken and Rice
A quick and comforting one pot dinner of tender chicken, creamy rice, and vegetables cooked together in the Instant Pot for an easy weeknight meal.

Cinnamon Roll Pancake Stacks
Fluffy pancakes swirled with a warm cinnamon filling and finished with a silky cream cheese glaze. Perfect for weekend brunches and cozy mornings.

Caramel Apple Cheesecake Bars
Buttery graham crust, creamy cheesecake, spiced Granny Smith apples, crunchy streusel, and a ribbon of homemade caramel — perfect dessert bars for gatherings.
Did You Make This?
Leave a comment & rating below or tag @easywhiskrecipes on social media!
Rate This Recipe
Share This Recipe
Enjoyed this recipe? Share it with friends and family, and don't forget to leave a review!
Comments (1)
This recipe looks amazing! Can't wait to try it.
Comments are stored locally in your browser. Server comments are displayed alongside your local comments.

Hi, I'm Sophie!
What's Popular

30-Minute Meals!
Join to receive our email series which contains a round-up of some of our quick and easy family favorite recipes.