
>>

A warm, saucy apple filling topped with a tender, buttery batter and finished with rich caramel. Comforting, easy to make, and perfect with vanilla ice cream.
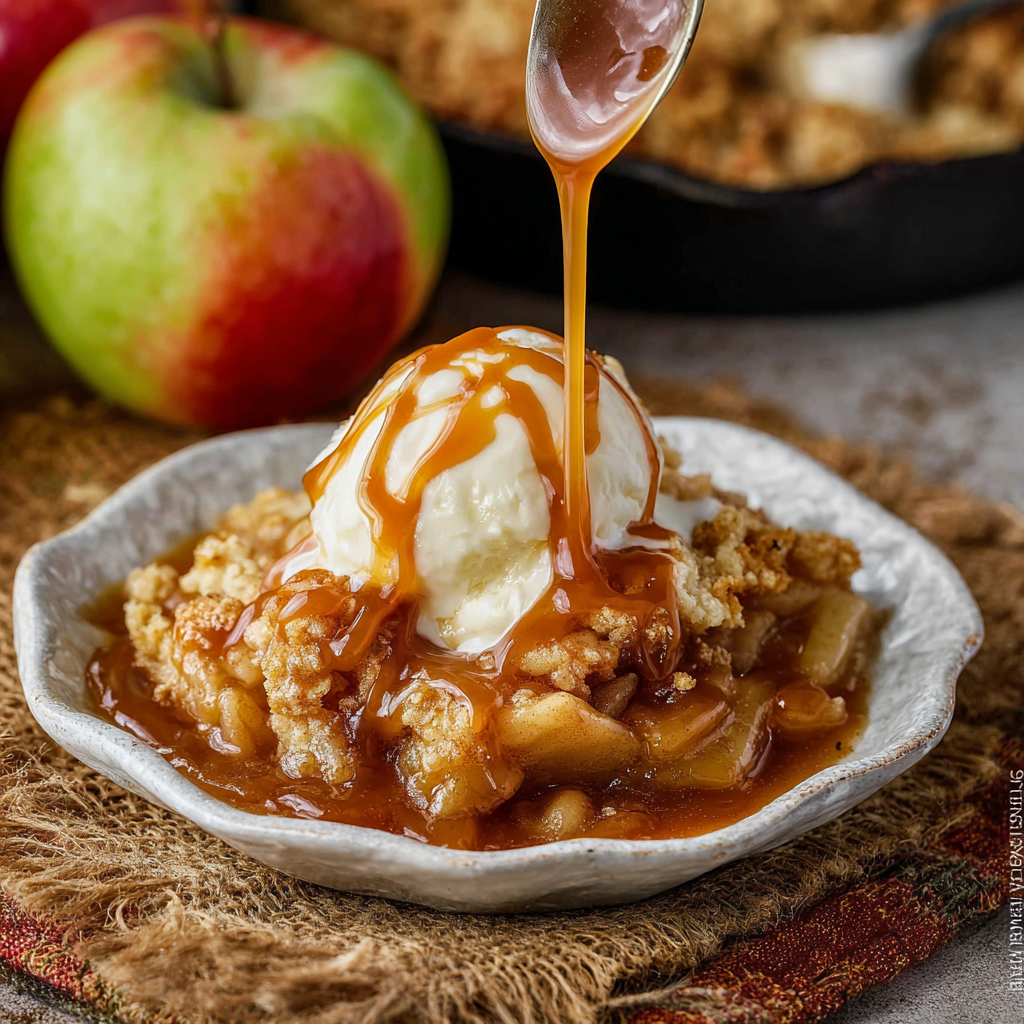
This caramel apple cobbler is the kind of dessert that announces itself the moment it comes out of the oven. I first made it on an autumn evening when apples were piled high at the farmer's market and a drizzle of store-bought caramel sauce rescued a busy weeknight. The result was a warm, saucy apple layer studded with tender fruit and a golden, cake-like topping that soaks up juices in the best possible way. It quickly became a family favorite for celebrations and quiet Sunday dinners alike.
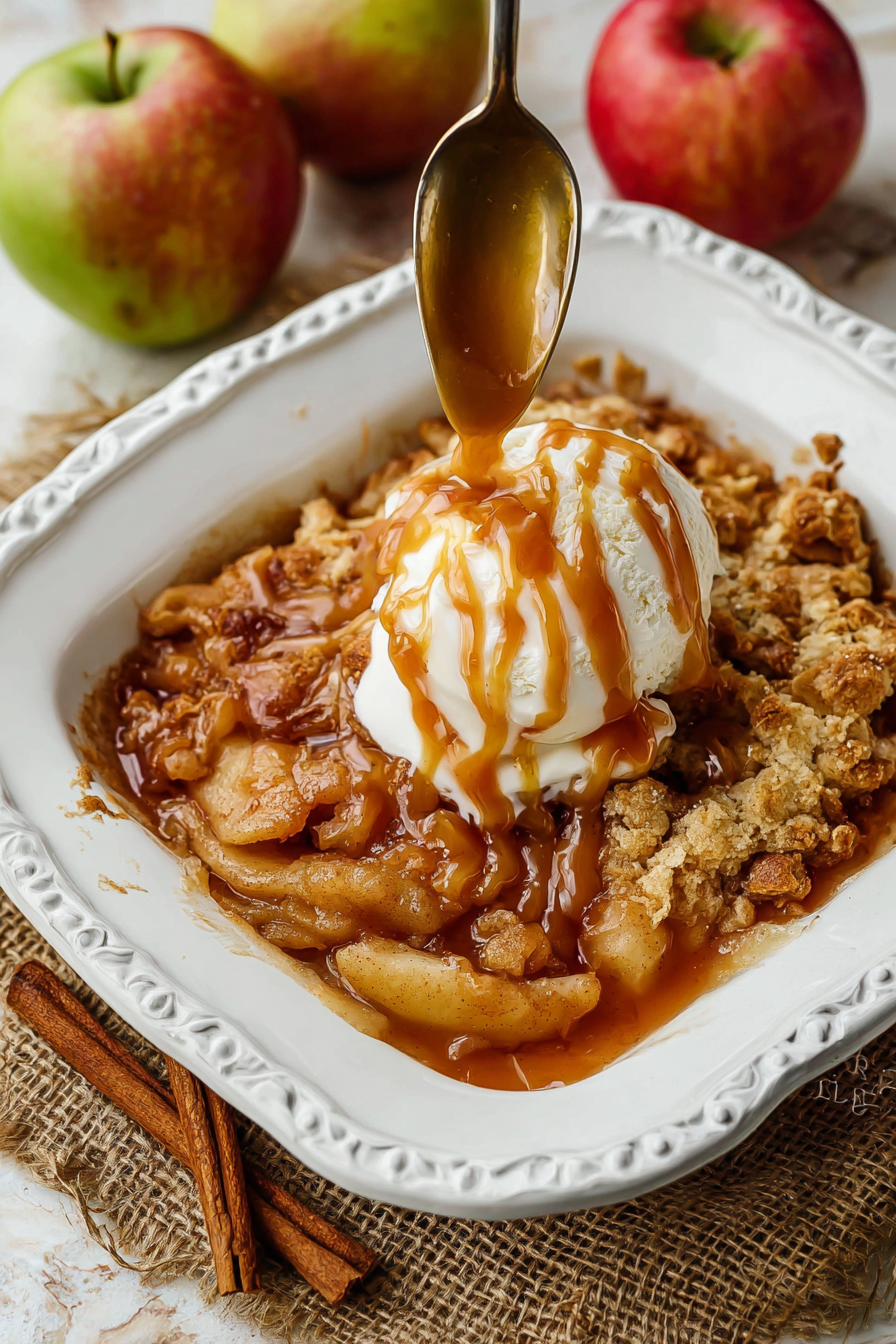
What makes this version special is the combination of crisp Granny Smith and sweet Honeycrisp apples, the small amount of nutmeg which rounds the flavor, and the simple batter that bakes into a soft, almost pudding-like crust. The balance of tart and sweet, plus the butter-forward topping, creates a comforting contrast in texture: bubbling fruit beneath a gently crisp surface. I love serving it warm with a big scoop of vanilla ice cream and an extra drizzle of caramel for showier occasions.
I remember serving this after a neighborhood potluck and watching people return for seconds. The simple caramel drizzle made it feel a little celebratory and the leftovers were fought over at the office the next day. It is the kind of dish that creates little memories around the table.
My favorite thing about this cobbler is how forgiving it is. Whether you slice apples thin or leave them slightly thicker for a chunkier bite, the final result is comforting. Family members often tell me it tastes like a cross between apple pie and a warm pudding, which is a compliment in our house. This is the dessert I make when I want something nostalgic with minimal fuss.
To store, cool the cobbler completely and cover it tightly with foil or plastic wrap before refrigerating. It will remain at its best for up to four days. To reheat individual portions, microwave for 30 to 60 seconds or warm in a 325°F oven until heated through, about 10 to 15 minutes. If you want to freeze, assemble the entire dish unbaked and wrap it well in plastic and foil; bake from thawed state and add 5 to 10 minutes to the baking time if still cool in the center. Use oven-safe lids or factory-sealed containers for long-term freezer storage to prevent freezer burn.
If you do not have Honeycrisp, try Gala or Fuji for sweetness. Replace granulated sugar with coconut sugar in a 1:1 swap to add a deeper flavor, though color and caramelization will differ slightly. For a dairy-free version use a plant-based butter and an unsweetened oat or almond milk; the topping may brown a bit differently but the structure holds. Swap the caramel sauce for a homemade quick salted caramel or omit completely and sprinkle the apples with an extra 1/4 cup brown sugar for a more rustic finish.
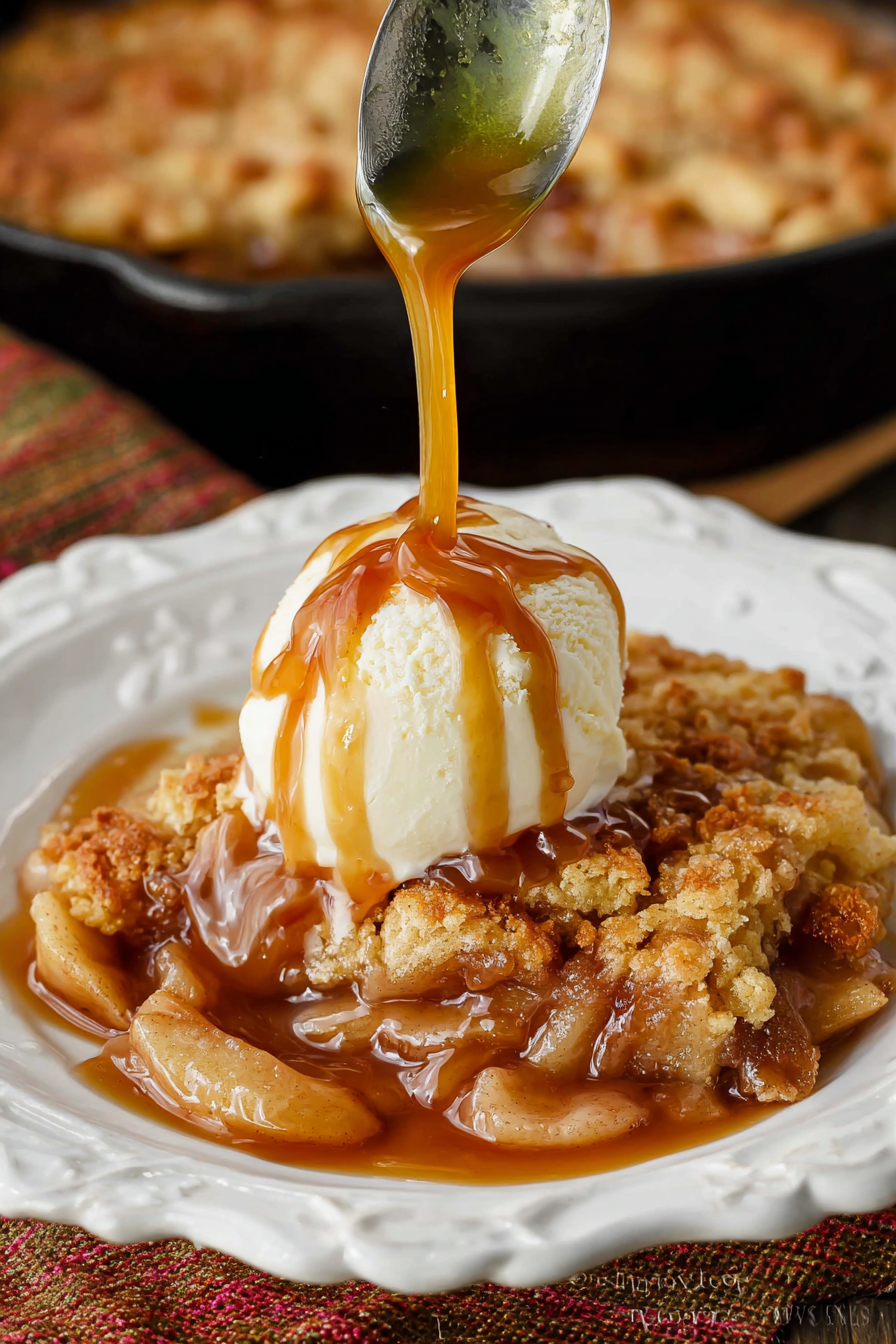
Serve warm with a generous scoop of high-quality vanilla ice cream for contrast between cold and hot. For an elegant presentation, place a spoonful of whipped cream and a light caramel drizzle on each serving and top with toasted chopped pecans. Pair with a lightly brewed tea or a cup of robust coffee to balance the sweetness. This is excellent for holiday brunches or casual dinners and works equally well plated in bowls or on dessert plates.
While apple desserts are a staple across many cultures, this cobbler aligns closely with American home baking traditions where simple batters are poured over fruit and baked until bubbling. Cobblers evolved as a practical sweet: fruit in season combined with pantry staples yields a comforting dessert without the labor of a double-crust pie. The caramel element adds a modern twist that nods to salted caramel trends while staying true to the homey roots of fruit-forward American desserts.
In fall, emphasize warming spices like extra cinnamon or a pinch of cloves; in spring use tart-tasting late-season apples and a touch of lemon zest to brighten the filling. Add a handful of cranberries in November for a festive note or fold in chopped pears and a splash of brandy for winter gatherings. For a lighter summer-style dessert, reduce the sugar by a quarter cup and use sweeter apple varieties so the fruit shines through.
Assemble the fruit and batter up to a day ahead and keep them separate until ready to bake to avoid softening the apples prematurely. Alternatively, assemble the entire dish and refrigerate, then bake within 24 hours. Portion leftovers into shallow airtight containers for quick lunches or dessert options; reheat gently in the microwave or oven. If taking to an event, transport partially baked and finish baking at the host location to serve fresh and bubbly.
This caramel apple cobbler is simple, dependable, and deeply satisfying. It rewards small seasonal touches and is easy to scale up for a crowd. I hope it becomes a trusted dessert in your home as it has in mine.
Use a mix of tart and sweet apples for the best flavor contrast and texture.
Do not stir the batter into the apples; pouring and leaving it prevents a dense final texture.
Let the cobbler rest 8 to 10 minutes after baking so the juices thicken slightly before serving.
For even baking, slice apples to similar thickness and spread them in a single layer.
This nourishing caramel apple cobbler recipe is sure to be a staple in your kitchen. Enjoy every moist, high protein slice — it is perfect for breakfast or as a wholesome snack any time.
Yes. Assemble the cobbler unbaked, wrap tightly, freeze for up to 3 months. Thaw overnight in the refrigerator and bake as directed, adding a few extra minutes if still chilled.
If the topping begins to brown too quickly, cover loosely with foil for the remaining baking time. Different ovens vary, so check at 30 minutes.
This Caramel Apple Cobbler recipe makes perfectly juicy, tender, and flavorful steak every time! Serve with potatoes and a side salad for an unforgettable dinner in under 30 minutes.
Preheat the oven to 350°F and grease a 9x13-inch baking dish with butter to prevent sticking and promote even browning.
In a large bowl toss peeled, cored and sliced apples with granulated sugar, brown sugar, cinnamon, nutmeg, a pinch of salt, and half of the caramel sauce until evenly coated. Let sit 5 minutes if possible to macerate.
Whisk together flour and baking powder. Stir in melted butter, milk and vanilla until a thick batter forms, taking care not to overmix to keep the topping tender.
Spread the apple mixture in the prepared dish and pour the batter evenly over the apples. Do not stir so the topping forms over the fruit while baking.
Bake 35 to 40 minutes until the topping is golden and the apple juices bubble around the edges. Remove, drizzle remaining caramel, and allow to rest 10 minutes before serving warm.
Last Step: Please leave a rating and comment letting us know how you liked this recipe! This helps our business to thrive and continue providing free, high-quality recipes for you.
Leave a comment & rating below or tag
@easywhiskrecipes on social media!

A quick and comforting one pot dinner of tender chicken, creamy rice, and vegetables cooked together in the Instant Pot for an easy weeknight meal.

Fluffy pancakes swirled with a warm cinnamon filling and finished with a silky cream cheese glaze. Perfect for weekend brunches and cozy mornings.

Buttery graham crust, creamy cheesecake, spiced Granny Smith apples, crunchy streusel, and a ribbon of homemade caramel — perfect dessert bars for gatherings.
Leave a comment & rating below or tag @easywhiskrecipes on social media!
Enjoyed this recipe? Share it with friends and family, and don't forget to leave a review!
This recipe looks amazing! Can't wait to try it.
Comments are stored locally in your browser. Server comments are displayed alongside your local comments.

Join to receive our email series which contains a round-up of some of our quick and easy family favorite recipes.
