
>>

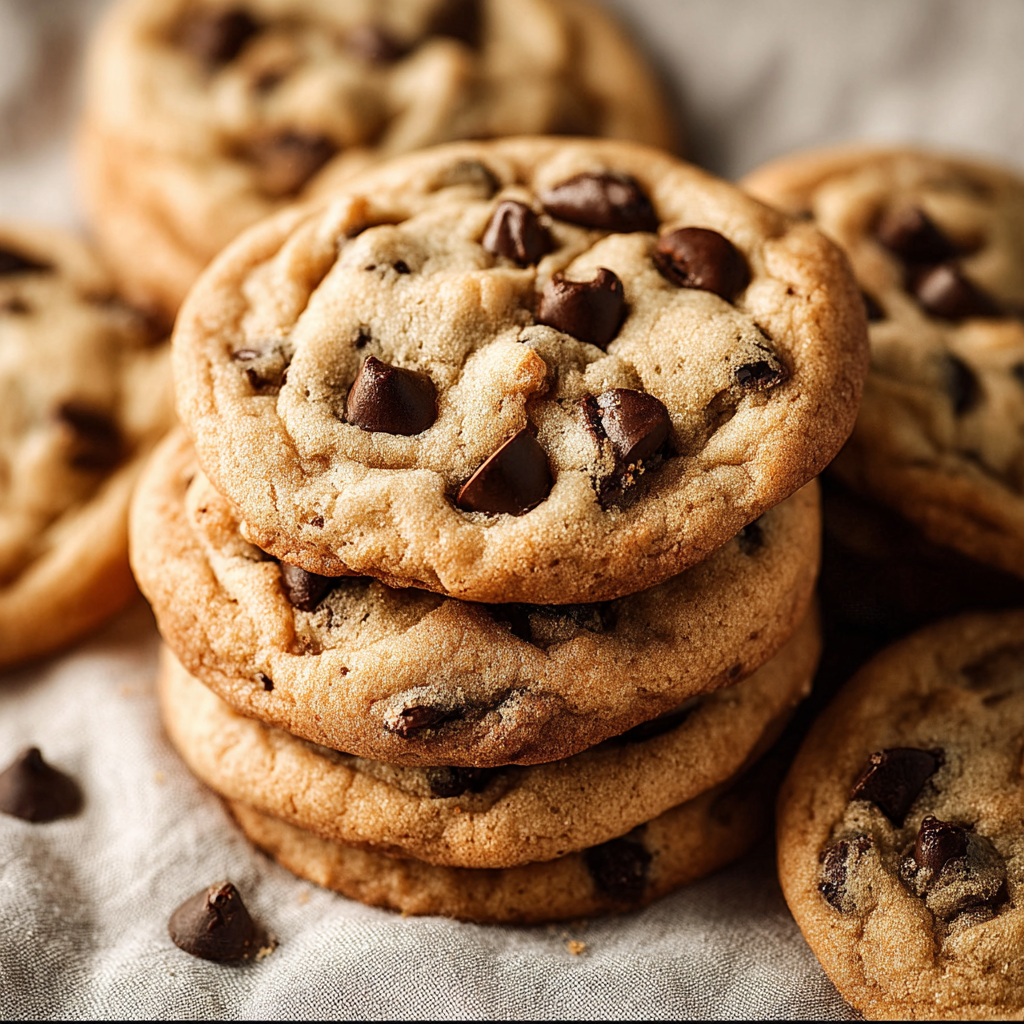
Classic bakery-style chocolate chip cookies with a tender, chewy center and golden edges — simple ingredients, professional results, and reliably delicious.

This recipe is my go-to when I want the exact warm, slightly chewy cookies you get from a good bakery. I first developed this method one weekend while trying to replicate a memory from a small neighborhood bakery where I grew up: thin golden edges, a soft center that yields just enough to show the chocolate tucked inside, and a flavor that tastes like both butter and caramel. I discovered a few timing tricks and a short chill that change everything — the dough firms up, the flavors deepen, and the cookies spread less, giving a bakery-style profile every time.
I make these for potlucks, for quiet weekday treats, and for holiday boxes. People always comment on the texture and ask whether I used a special flour or fancy technique. The secret is simple: quality butter, proper creaming, minimal mixing, and the right bake time. The dough keeps well, and chilling for at least 30 minutes makes a noticeable difference. When cooled slightly, the cookie still feels soft in the middle but develops those glorious golden edges that snap when you lift them off the sheet.
In my kitchen this recipe has had a starring role at family breakfasts and late-night snack runs. My partner swears these are the best cookies I make, and I often double the batch when expecting company. Over time I learned to trust the visual cues — golden edges, still-soft centers — which consistently produce that bakery mouthfeel my friends ask for again and again.
My favorite part is the moment a warm cookie splits and the chips glisten: it always pulls people to the kitchen. Family members have compared these to local bakery versions and often ask for the chilled dough to be frozen so they can bake a fresh tray when cravings hit. Over years of testing I learned to trust the visual cues and to reserve a few chips to press on top of the dough balls before baking; it makes the cookies look irresistibly bakery-ready.
Store baked cookies in an airtight container at room temperature with a slice of bread or a folded paper towel to help maintain softness for up to 3 days. For longer storage, freeze cooled cookies in a single layer on a baking sheet until firm, then transfer to a resealable freezer bag for up to 3 months. To refresh frozen cookies, reheat gently in a 300°F oven for 5 to 7 minutes or microwave briefly on low power for 10 to 15 seconds — this restores that just-baked warmth without drying them out. If freezing dough balls, flash-freeze them separated on a tray first, then bag them; bake directly from frozen, adding 1 to 2 minutes to the bake time.

If you need to swap ingredients, there are reliable alternatives. Replace unsalted butter with salted if needed but reduce added salt by 1/4 teaspoon. For a slightly cakier texture substitute 1/4 cup plus 2 tablespoons of flour with an equal amount of cake flour, bearing in mind cookies will be softer. Use dark brown sugar for a deeper molasses flavor, or half brown sugar and half granulated for a lighter caramel note. Swap chocolate chips for chopped chocolate bars for varied texture and smoother melting; white chocolate and toasted nuts work well too. For gluten-free versions use a 1-to-1 gluten-free flour blend that contains xanthan gum and reduce bake time slightly if the blend browns faster.
Serve warm with a glass of cold milk or a scoop of vanilla ice cream for an elevated dessert. For brunch or coffee service, pair with espresso or a milky latte; the sweetness of the cookie balances bitter coffee notes. Garnish with flaky sea salt or a dusting of cocoa powder for a more sophisticated presentation. These cookies also make excellent sandwich cookies: spread a thin layer of salted caramel or chocolate ganache between two cookies for a delicious treat suitable for parties or gifting.
The chocolate chip cookie is an American classic, first arising in the 1930s at the Toll House Inn when Ruth Wakefield added chopped chocolate to cookie dough. Over decades the cookie evolved from a home-baked treat to a bakery staple with regional variations emphasizing chewiness, crispness, or size. This version draws on bakery techniques — chilling dough, pressing extra chips on top, and using a medium-high oven temperature — to reproduce that neighborhood-bakery style many people remember from childhood.
Adapt the base for seasons: stir in 1 cup chopped toasted pecans and a pinch of cinnamon in fall, or fold in 1/2 cup dried cranberries with white chocolate chips for winter holiday boxes. In summer add 1/2 teaspoon grated orange zest and use dark chocolate for a bright contrast. For special occasions sprinkle a light pinch of fleur de sel on the warm cookies right after baking for a sweet-salty celebration-style treat.
Prepare dough in large batches and portion into 2-tablespoon balls on a tray; freeze the tray, then store balls in labeled freezer bags for quick bakes. Thaw in the refrigerator overnight or bake from frozen with an extra minute or two. If prepping for a week of snacks, store baked cookies in a shallow container with parchment layers to prevent sticking and keep them in a cool spot — not the refrigerator, which can dry them. Precise scooping and consistent spacing on the sheet are key for uniform baking when doing multiple trays.
These cookies are my simple joy — a small ritual of creaming, folding, chilling and baking that always delivers. Try chilling the dough longer or pressing extra chips on top; make them your own and share a batch with someone who appreciates a classic done right.
Use room-temperature eggs and softened butter for better emulsification and consistent rise.
Reserve a small handful of chocolate chips to press on top of each dough ball before baking for a bakery appearance.
Do not overmix after adding flour; stop when just combined to avoid tough cookies.
Chill dough at least 30 minutes to reduce spread and develop flavor; overnight chilling yields best taste.
Use parchment paper or silicone mat and rotate sheets halfway through the bake if your oven heats unevenly.
This nourishing bakery-style chocolate chip cookies recipe is sure to be a staple in your kitchen. Enjoy every moist, high protein slice — it is perfect for breakfast or as a wholesome snack any time.
Yes. Dough can be refrigerated up to 24 hours for better flavor and less spread. For longer storage, freeze dough balls for up to 3 months.
Bake at 375°F for 9 to 12 minutes. Remove when edges are golden and centers still look slightly soft; they will set as they cool.
This Bakery-Style Chocolate Chip Cookies recipe makes perfectly juicy, tender, and flavorful steak every time! Serve with potatoes and a side salad for an unforgettable dinner in under 30 minutes.
In a large bowl, beat 1 cup (2 sticks) softened unsalted butter with 3/4 cup granulated sugar and 3/4 cup packed light brown sugar until light and fluffy, about 2 to 3 minutes. Scrape the bowl down once during mixing.
Beat in 2 large eggs one at a time, then stir in 1 teaspoon vanilla extract. Mix just until combined to maintain an emulsified batter.
Whisk together 2 1/4 cups all-purpose flour, 1 teaspoon baking soda, and 1/2 teaspoon salt in a separate bowl to ensure even distribution.
Gradually add the flour mixture to the butter mixture on low speed or fold with a spatula until just combined. Avoid overmixing to prevent toughness.
Fold in 2 cups chocolate chips until evenly distributed. Reserve a few chips to press on top of dough balls if desired.
Cover and refrigerate dough for at least 30 minutes or up to 24 hours. Chilling firms the dough and improves texture and flavor.
Preheat oven to 375°F. Line baking sheets with parchment. Drop rounded tablespoons or use a 2-tablespoon scoop, spacing about 2 inches apart. Bake 9 to 12 minutes until edges are golden and centers are still slightly soft. Cool on sheet 5 minutes, then transfer to a wire rack.
Last Step: Please leave a rating and comment letting us know how you liked this recipe! This helps our business to thrive and continue providing free, high-quality recipes for you.
Leave a comment & rating below or tag
@easywhiskrecipes on social media!

A quick and comforting one pot dinner of tender chicken, creamy rice, and vegetables cooked together in the Instant Pot for an easy weeknight meal.

Fluffy pancakes swirled with a warm cinnamon filling and finished with a silky cream cheese glaze. Perfect for weekend brunches and cozy mornings.

Buttery graham crust, creamy cheesecake, spiced Granny Smith apples, crunchy streusel, and a ribbon of homemade caramel — perfect dessert bars for gatherings.
Leave a comment & rating below or tag @easywhiskrecipes on social media!
Enjoyed this recipe? Share it with friends and family, and don't forget to leave a review!
This recipe looks amazing! Can't wait to try it.
Comments are stored locally in your browser. Server comments are displayed alongside your local comments.

Join to receive our email series which contains a round-up of some of our quick and easy family favorite recipes.
